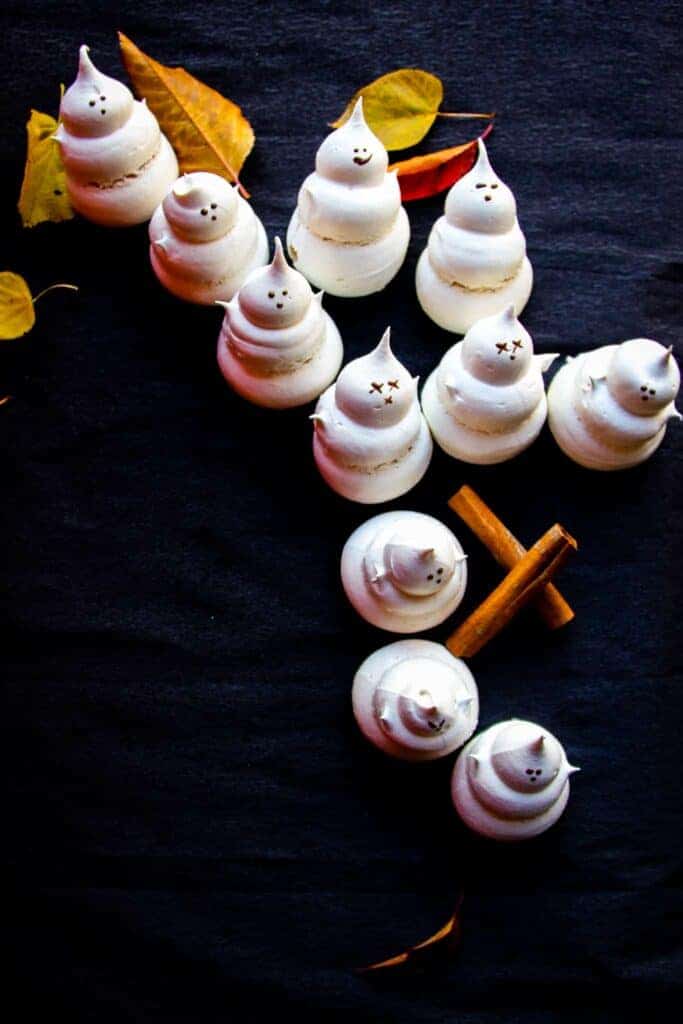
Halloween is just around the corner and this recipe for cinnamon ghost mini meringue makes a bunch of awesome Halloween treats. And these little ghost guys look hilarious!
This recipe is a bit more challenging than normal but definitely possible for the home cook. Don’t worry though, you can do it!
Meringue, Meringue, Meringue
I say it three times because there’s actually 3 types of meringue: French, Italian and Swiss. But which one should we use? I’ll give you a quick rundown of the three so you can now talk “shop” with any pastry chef.
French Meringue
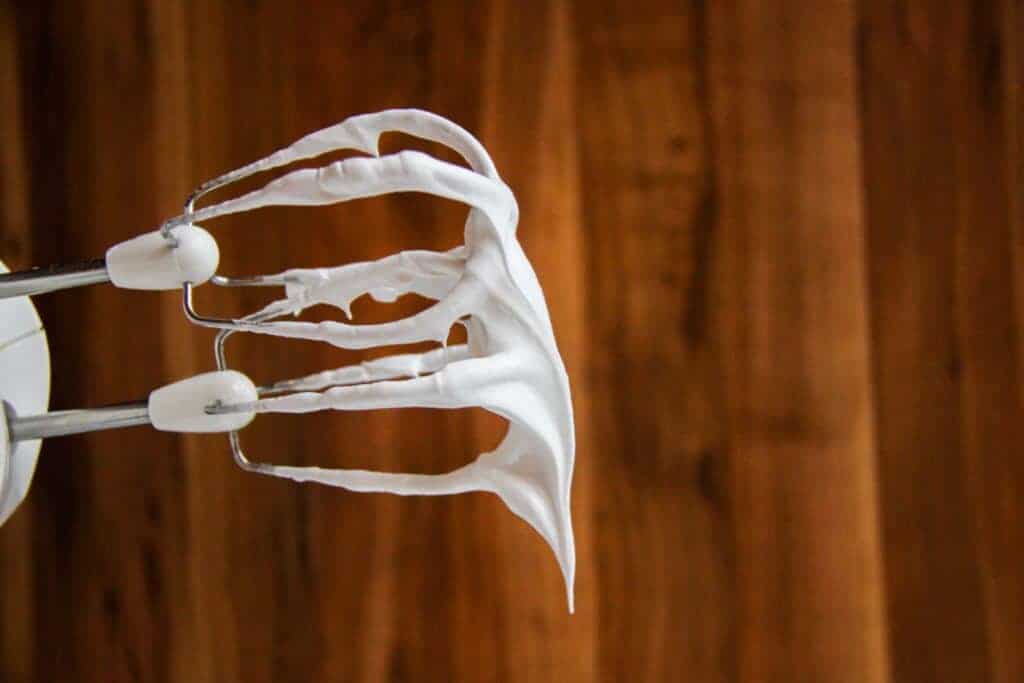
French Meringue is the classic that most people are familiar with and the one we are going to be using today. It’s basically egg whites mixed with with fine sugar and beaten until stiff peaks are formed. This one needs to be baked to be safe to eat. It’s the least stable meringue but also the lightest, making it perfect for a souflée or little ghost meringues.
Italian Meringue
This meringue uses a hot sugar syrup that’s heated to 236°F to 240°F and then slowly whisked into the raw egg whites. This pasteurizes the meringue and means that you can eat it without baking it afterwards. It’s great for buttercreams and mousses and anytime you don’t want to bake a meringue.
Swiss Meringue
Last but not least, the Swiss meringue is made by whisking egg whites and the sugar over a bain marie prior to beating. This process makes the meringue a little less in volume but with a super fine texture. This one is great for making meringue chips or topping pies with the meringue.
Tips for a Better Meringue
Public Enemy #1 – Water
Meringue’s biggest enemy is water. This is why pastry chefs always have to be so clean while they work. Even the smallest drop of water hiding in a mixing bowl or on a spatula can destroy everything you worked hard so for (I’ve definitely been there).
Use Old Egg Whites
Old egg whites work better because they tend to have less water. Eggs that are about a week old are perfect.
Don’t Use Cold Eggs
Room temperature eggs generally work better for baking and cooking. So try to let them come to room temperature before whisking. In Europe, it’s more acceptable to store eggs at room temperature because they are not washed like in North America. Some pastry chefs will actually torch the side of the bowl briefly while mixing the egg whites to bring them up to temperature.
Mini Meringue Problems
Is the meringue watery with liquid leaking out the sides? This is because the sugar has not been properly dissolved into the egg whites. To avoid this, I recommend adding the sugar in stages and whisk for a long time. If you can still see tiny grains of sugar inside the meringue, then it’s not ready. When in doubt, whisk more!
Superfine Sugar
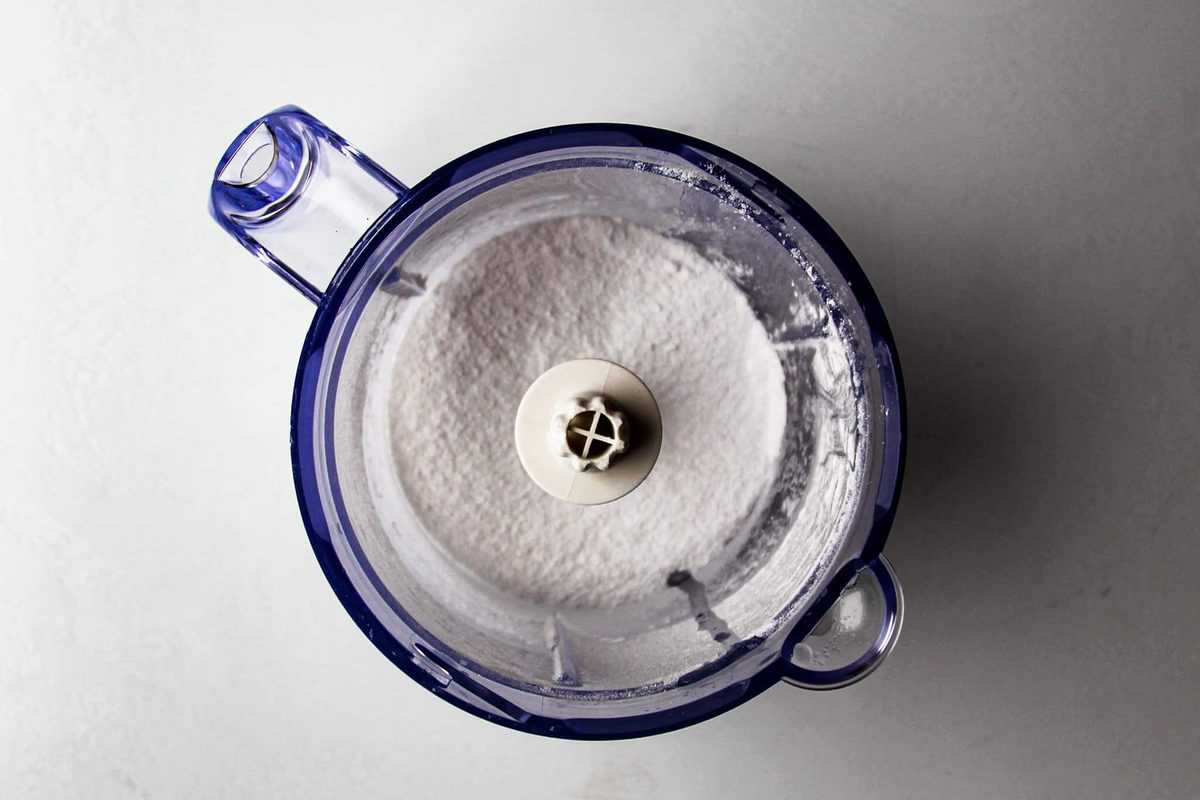
Using superfine sugar means the sugar will dissolve easier into the egg whites and that’s exactly what we want. You can buy superfine sugar or use the blending method as shown to create a superfine sugar.
The Inconsistent Oven
Another huge factor in the successfulness of this recipe is the quality of the oven. A lot of ovens actually vary in temperature. My home oven’s 180C is just not the same as my work oven’s 180C. There’s so many factors that can go into why ovens are hotter than others and I am not going to go into the boring details about varying ovens but I will try to provide some helpful suggestions instead.
Keep Two Eyes on Them
Check the meringues frequently to see if they are browning or not. The perfect meringue is bright white and not brown at all.
A classic trick is to have the oven on with a wooden spoon holding the door open slightly to allow the air to flow out. My oven would not stay on if I had the door even slightly opened so I couldn’t use this trick. That being said it’s still possible but you may need less time.
If your oven’s door can’t be left opened with a wooden spoon then try this: 100C for about 1 hour + 10 minutes. Open the oven door frequently as they cook to allow moisture to escape. Once the timer is done, open the oven door, turn off the oven and allow the mini meringue to dry for about 15 minutes.
Tools Needed for Mini Meringue
Here’s a few tools that will make your life so much easier for this recipe:
#1 The Mixer – A stand mixer makes this a lot easier because it mixes evenly, unlike the hand mixer I used in the pictures. If you have one of these it will make your cooking and baking life a lot easier. If you’re looking to buy a stand mixer I think KitchenAid makes great mixers and those are the ones I’ve trusted in professional kitchens. The only downside is they’re a little pricey and that’s why I do not own one yet.
#2 Silpat – A silpat is basically parchment paper on steroids. They’re great for baking applications because they’re super non-stick and can be washed and used again. In this recipe I used normal parchment paper with a bit of oil, but a silpat would have been much easier. Not necessary but definitely a lot more effective.
#3 Piping Bags – You need these for this recipe. No way around it. I’m not a huge fan of the silicon re-washable ones because they are difficult to clean properly and not very sanitary. Get some cheap disposable ones and you’re good to go.
#4 Food Processor – In this recipe I use this tool to make superfine sugar. You can also buy superfine sugar already or just use regular sugar but the meringue may not be as nice. Either way it’s always nice to have a food processor and something I use a lot.
Happy Halloween!
How to Make Ghost Mini Meringue – Halloween Treats
Equipment
- Piping bags
Ingredients
- 120 g egg whites about 4 eggs
- 200 g sugar superfine
- 25 g cornstarch
- 1 tsp cinnamon ground
- 1+½ tsp lemon juice
- ½ tsp vegetable oil or spray oil
- 1 tbsp dark chocolate for making the faces
Instructions
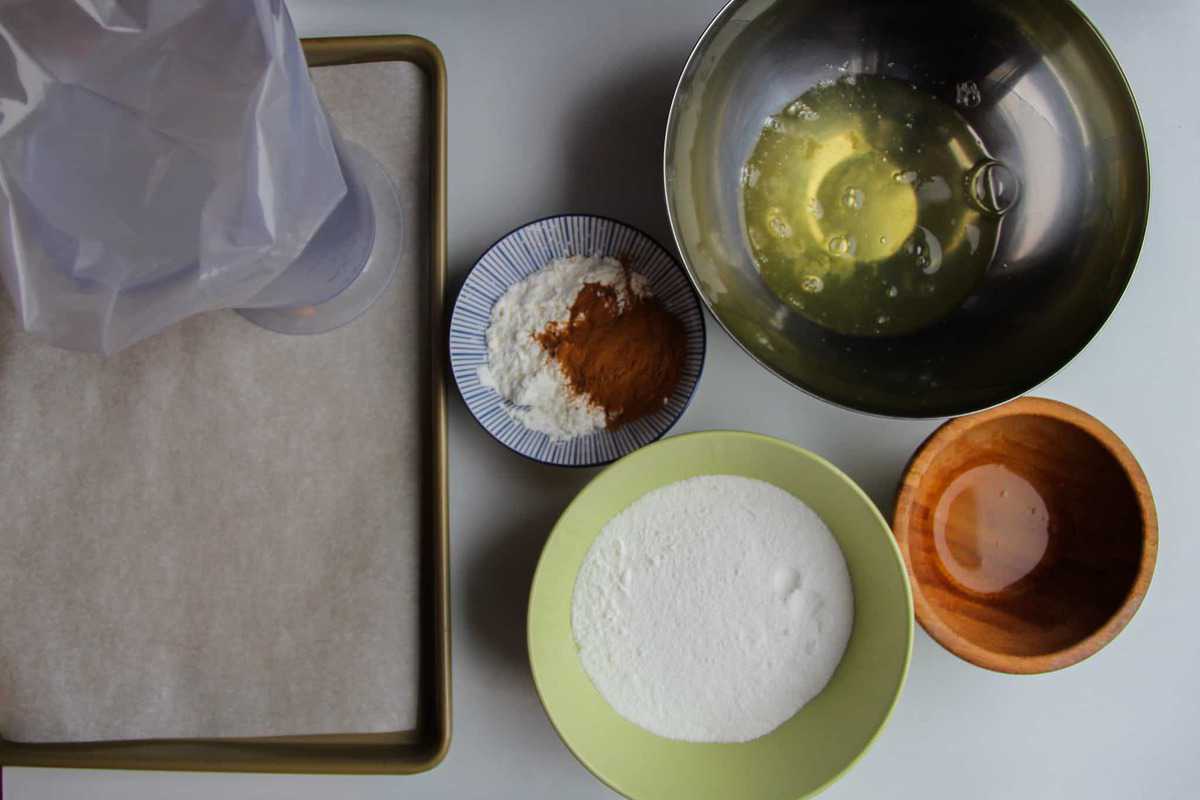
- Weigh everything first and have all the ingredients ready to go. Have a baking tray lined with parchment paper, and a container to hold the piping bag ready. Set the oven temperature to 100°C/212°F

- Blend the sugar in the food processor for 1-2 minutes or until it's powdery and superfine.

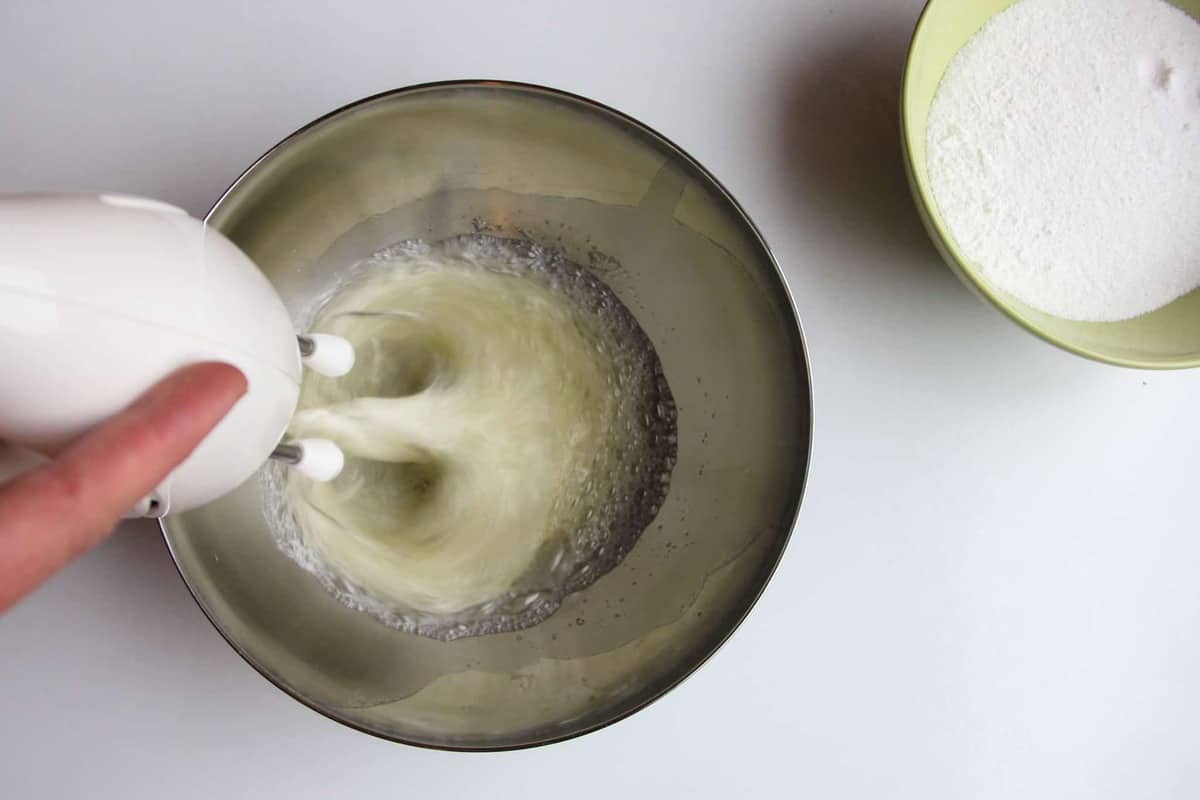
- Add a tiny pinch of salt to the egg whites and start mixing with the whisk attachment on medium speed.

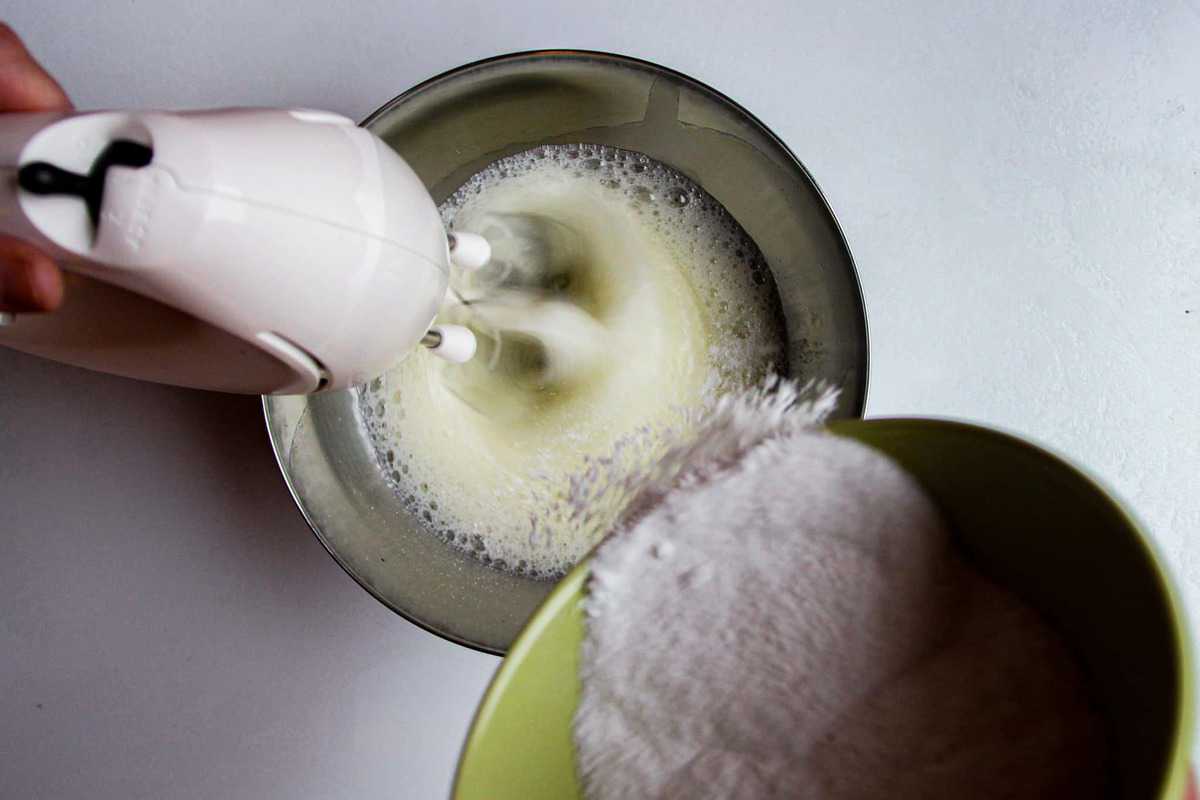
- Once the egg whites are frothy (about 1 minute) add ⅕ of the sugar and continue whisking. Whisk for about 2 minutes then add the second fifth of the sugar.

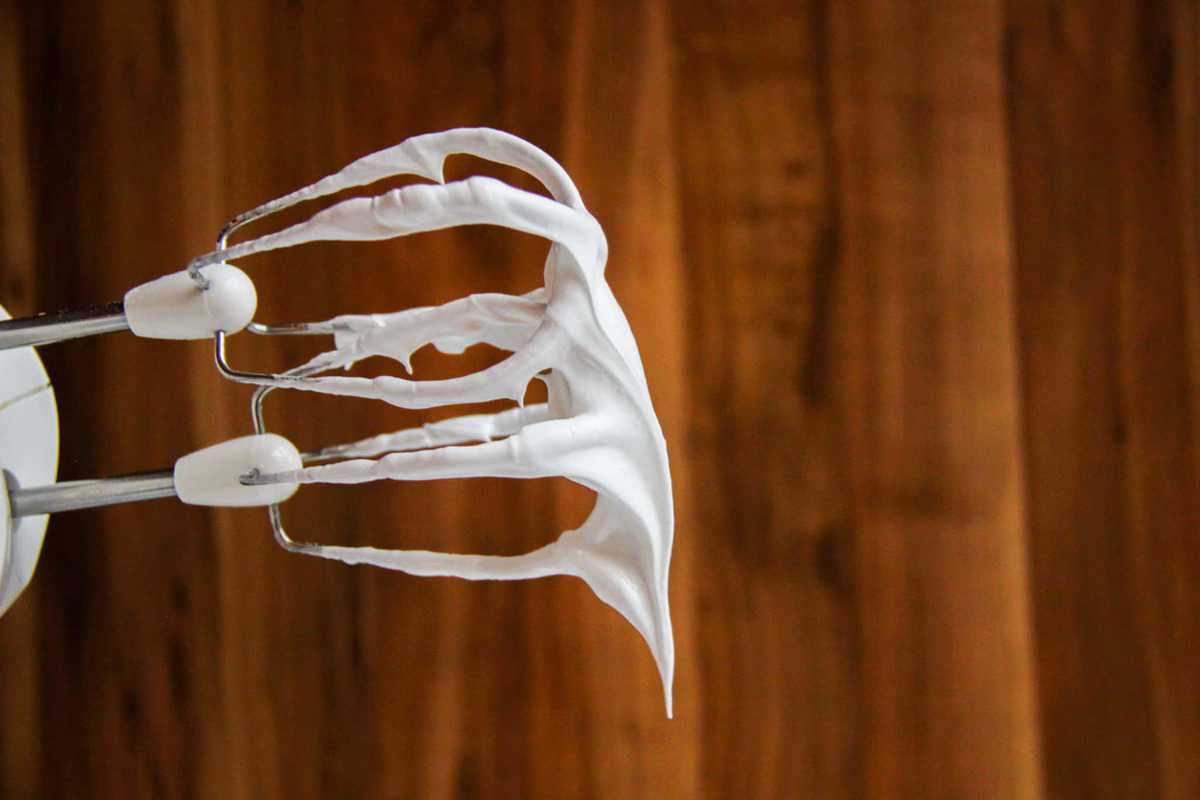
- Continue mixing until all parts the sugar have been added. Continue mixing until you cannot see any grains of sugar in the mixture and stiff peaks have formed.

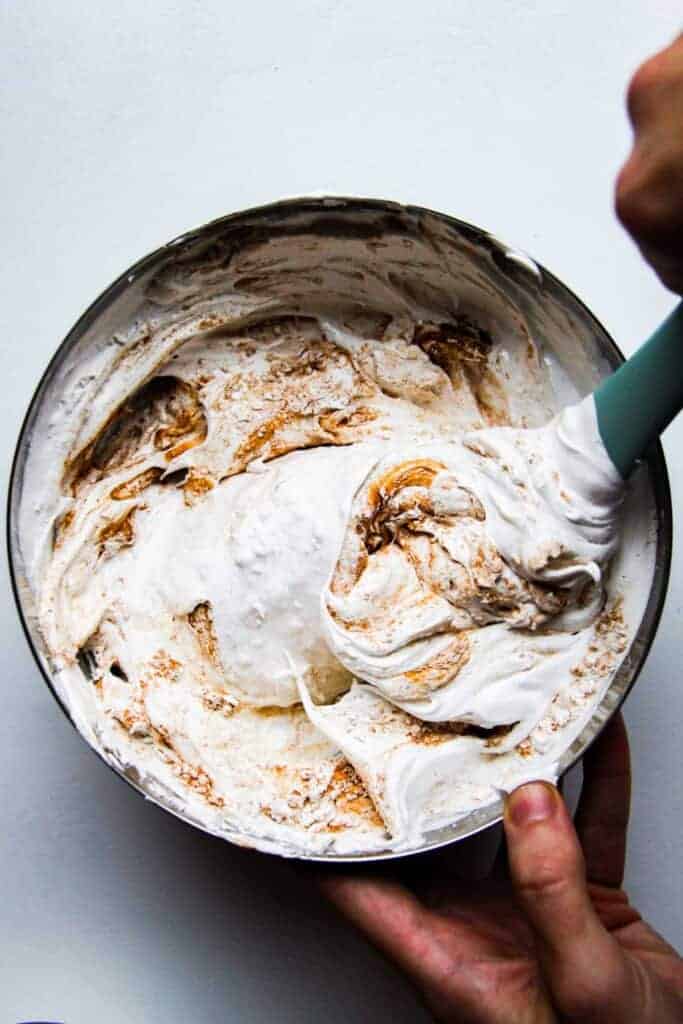
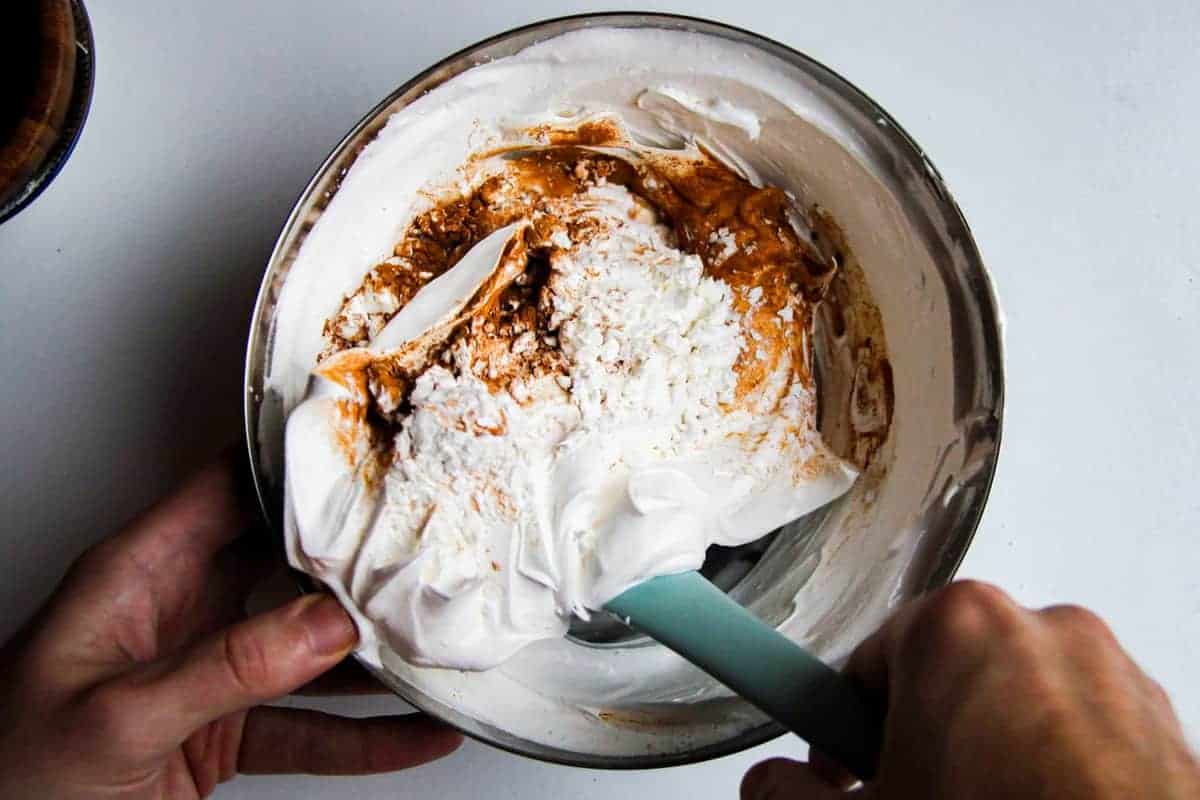
- Stop the mixer and remove the bowl. Add the cornstarch and cinnamon and carefully mix with a spatula, taking care not to knock out any air. Add the lemon juice and continue to mix.

- Transfer to a piping bag and cut a large tip at the end.
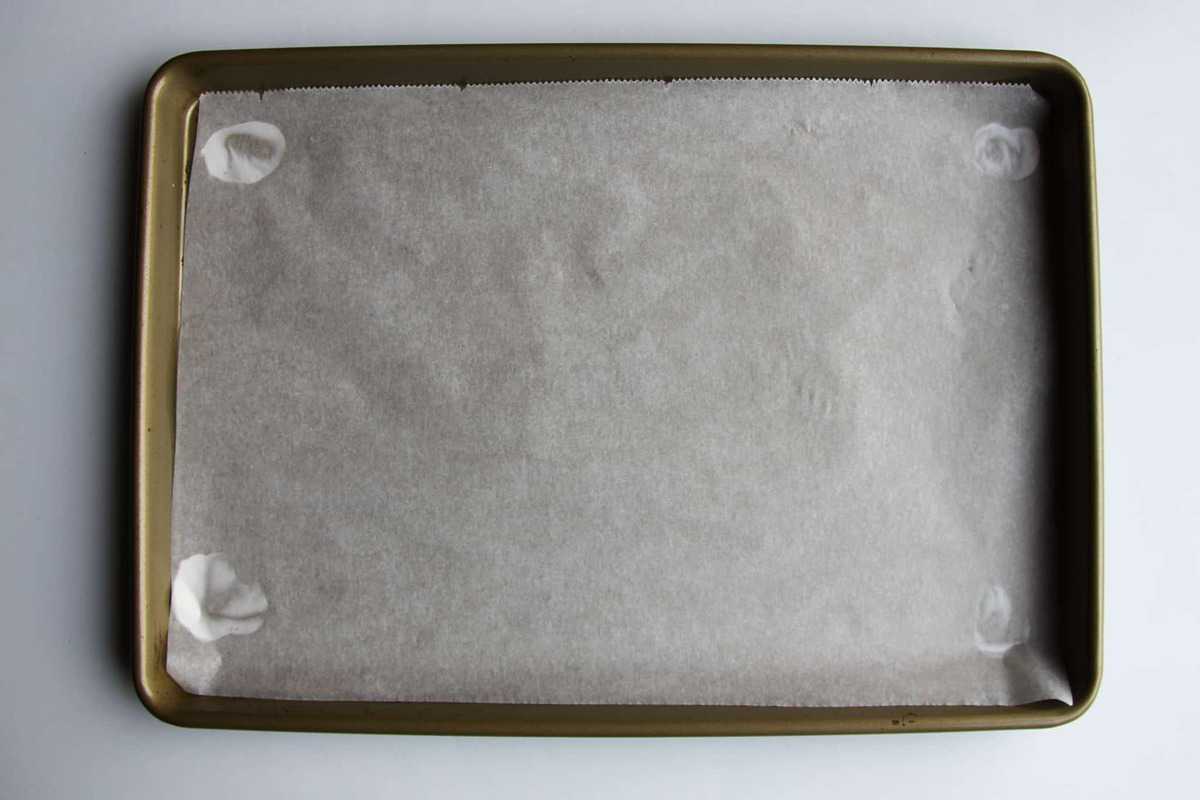
- Place a tiny bit of meringue at the corners of the tray to keep the parchment paper from sticking. Brush the tray with a thin layer of oil. If you're using a Silpat you can skip this step.

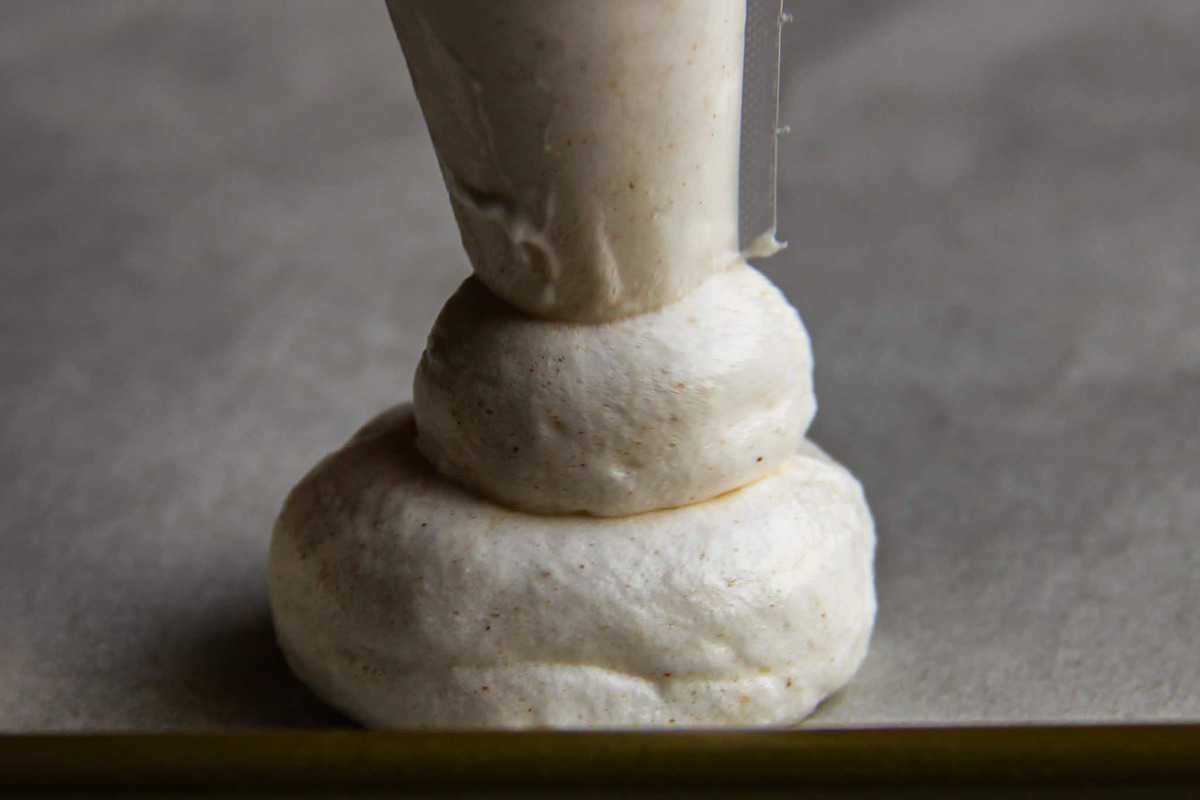
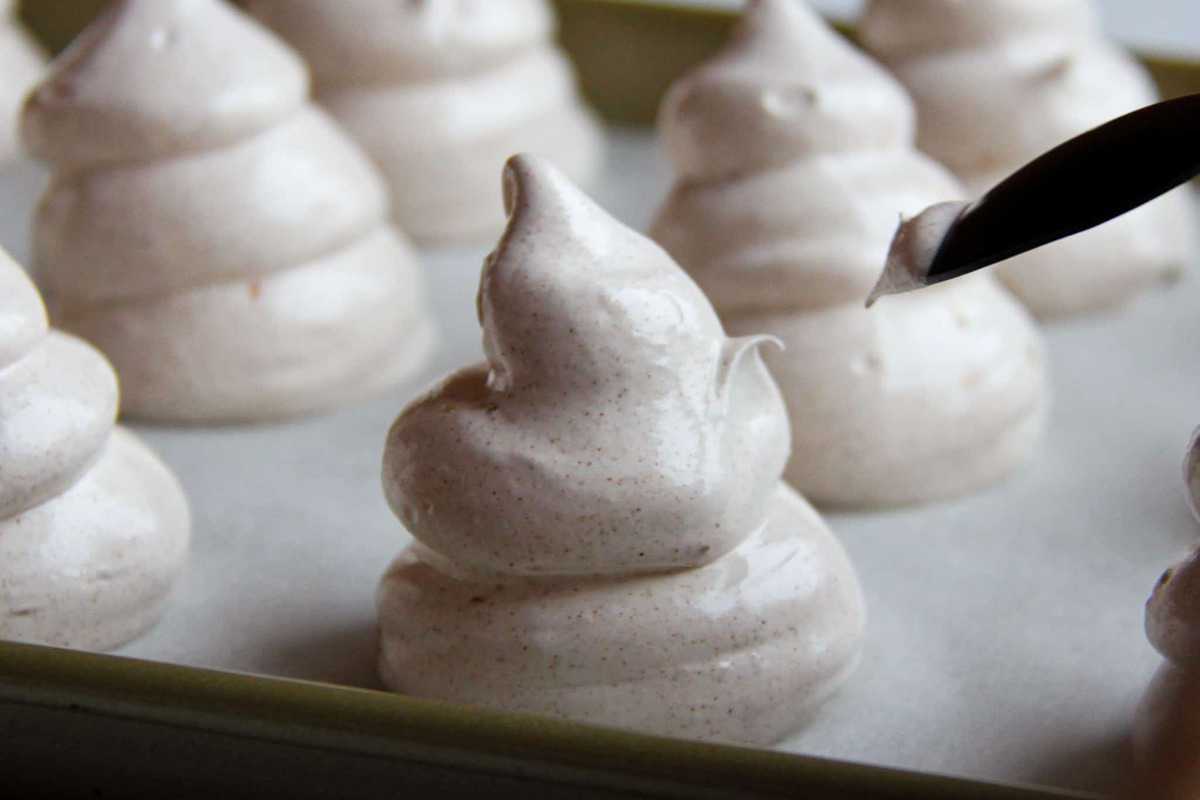
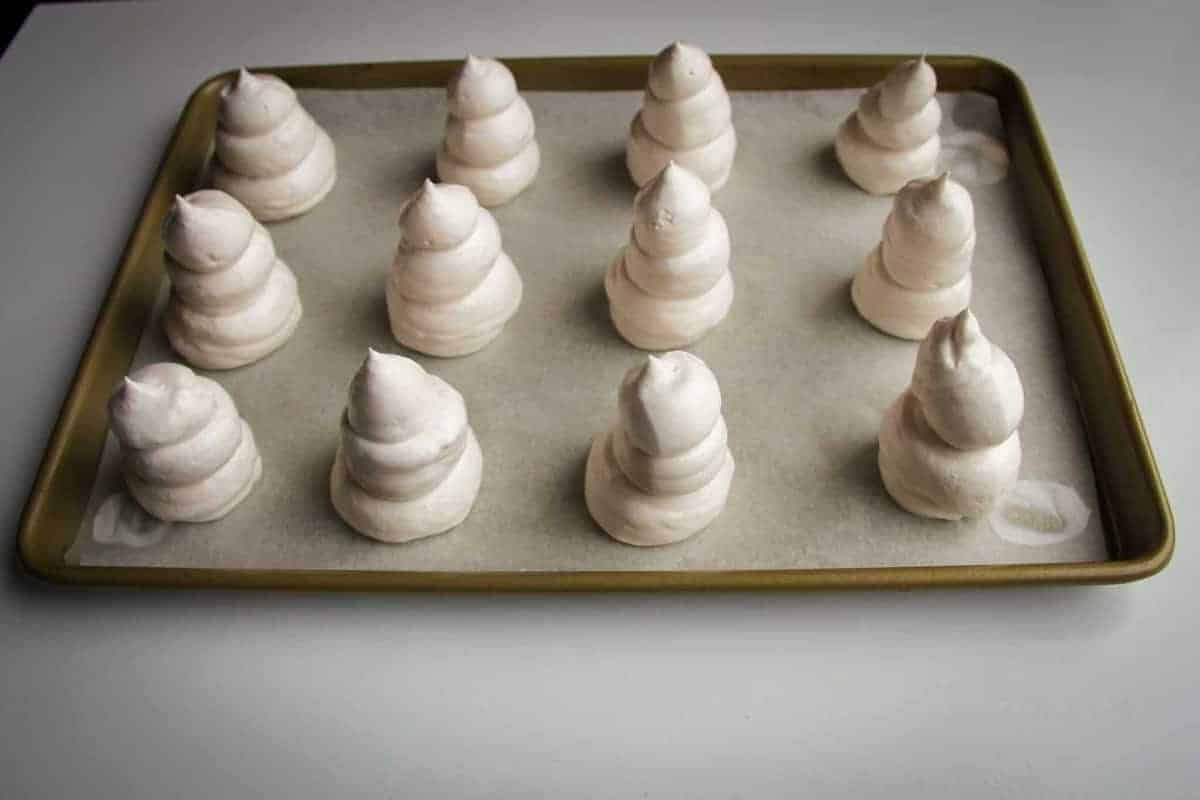
- Pipe the meringue straight up in 3 tear drop shapes. Pull up quickly at the end to get the curl at the top.

- Use a small spoon with an upwards motion to make little arms for the ghost. Push in slightly and pull up quickly with the spoon.

- Bake right away for 2-2+½ hours with a spoon holding the door open. Check frequently and turn the tray when they're halfway.
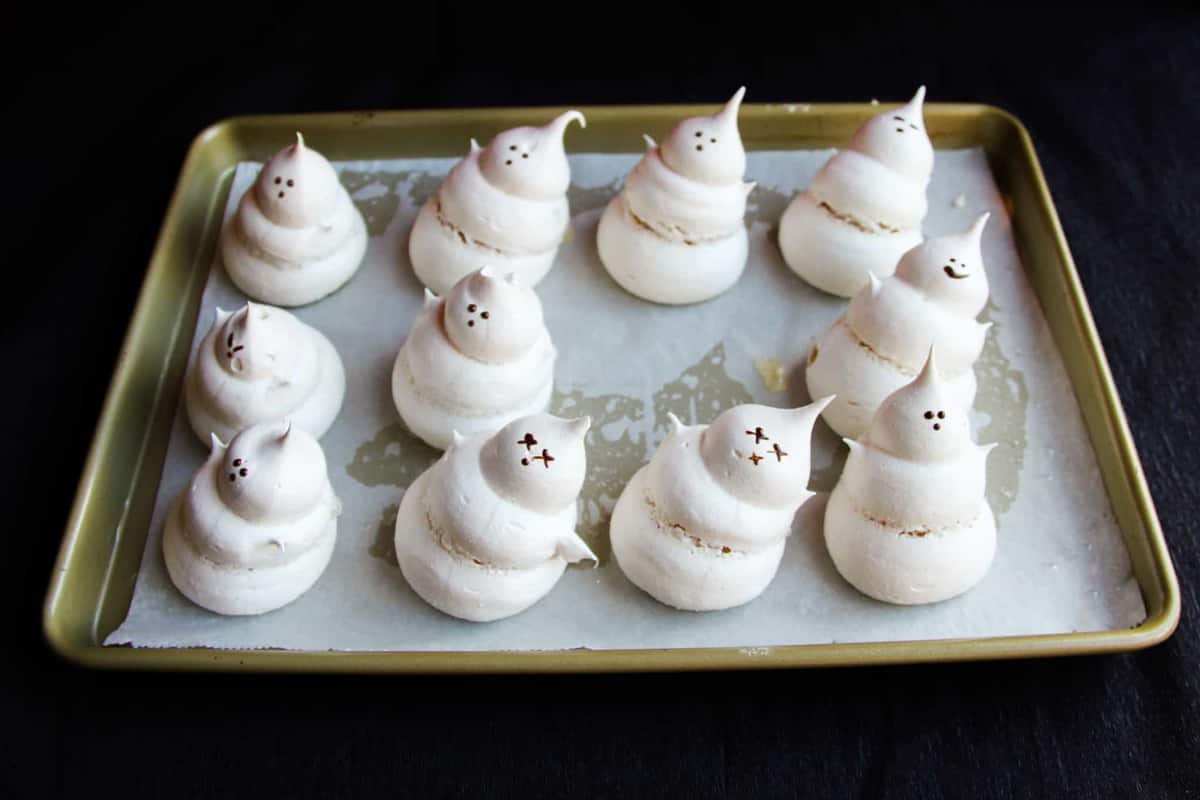
- When the meringues are done they will be ideally bright white with a crisp exterior and marshmallowy on the inside. You can use a toothpick to check if they're done. Once finished, turn off the oven and leave them in the oven with the door open to continue drying for about 15 minutes.

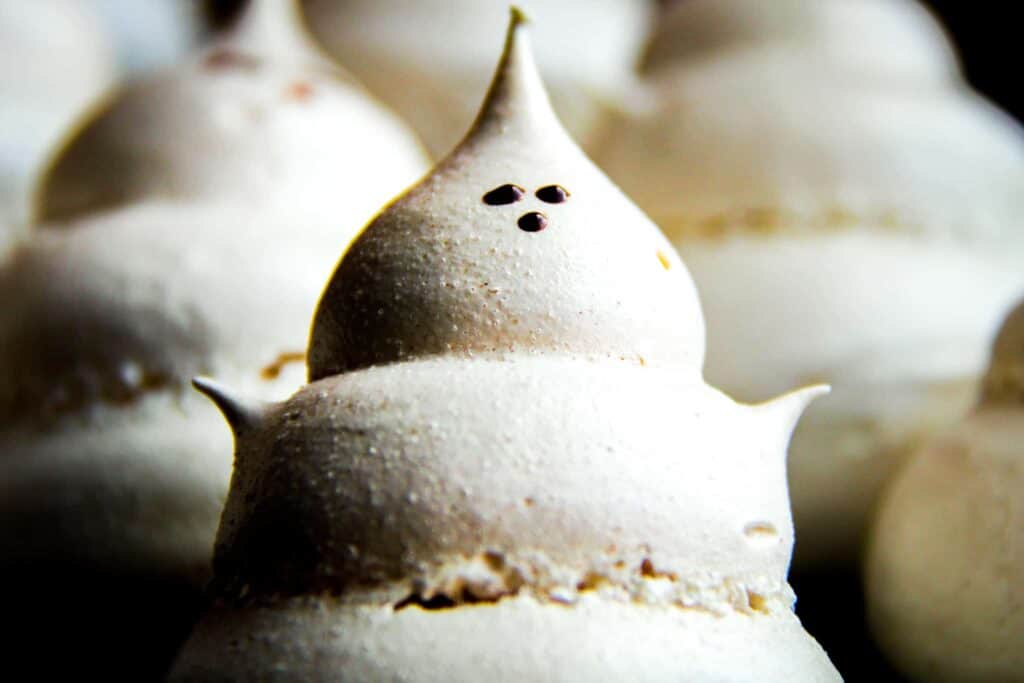
- Warm up a bit of chocolate in the microwave or over a bain marie. Use a toothpick to paint the face of the ghosts. Enjoy!

Notes
More Halloween Recipes to Try







Thank you for the thorough and concise description of the different types of meringues! These little ghosties are adorable and I love the addition of cinnamon!