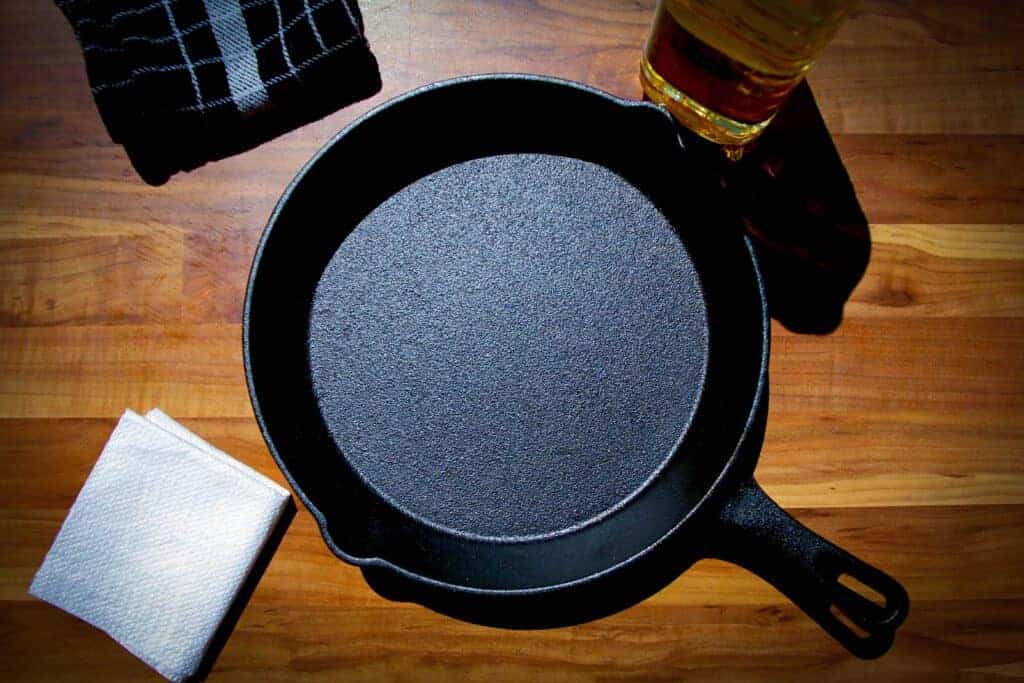
You bought a brand new cast iron skillet pan. Awesome. Welcome to the club.
I absolutely love cooking with cast iron pans. They’re great for mushrooms, searing steaks, roasting in the oven and just about anything that needs to be browned. But cast-iron skillets are not like iPhones that are ready to go out of the box. They need a little love to get them going to full awesomeness.
Here’s a quick guide on how to properly season a cast iron skillet.
Why Do I Need to Season a Cast Iron Pan
Owning a cast iron skillet is one of the best choices you can make when it comes to buying kitchen equipment. When cast iron is seasoned it becomes naturally non-stick, provides even heating and is great for cooking on the BBQ.
Seasoning a cast-iron pan requires heating the pan up with a little bit of oil multiple times to create a smooth protective layer. This helps to prevent food from sticking and makes it a lot easier to clean. Below I will show you exactly what you need to do to properly season a brand new cast iron pan.
Cleaning the Pan
The first step is to wash the pan out with a little soap and water to get it nice and clean. After it’s clean make sure to dry it very well. After the pan is seasoned you won’t need to wash it with soap anymore as this can ruin the seasoning of the pan.
What’s the Best Oil to Season a Cast Iron Pan?
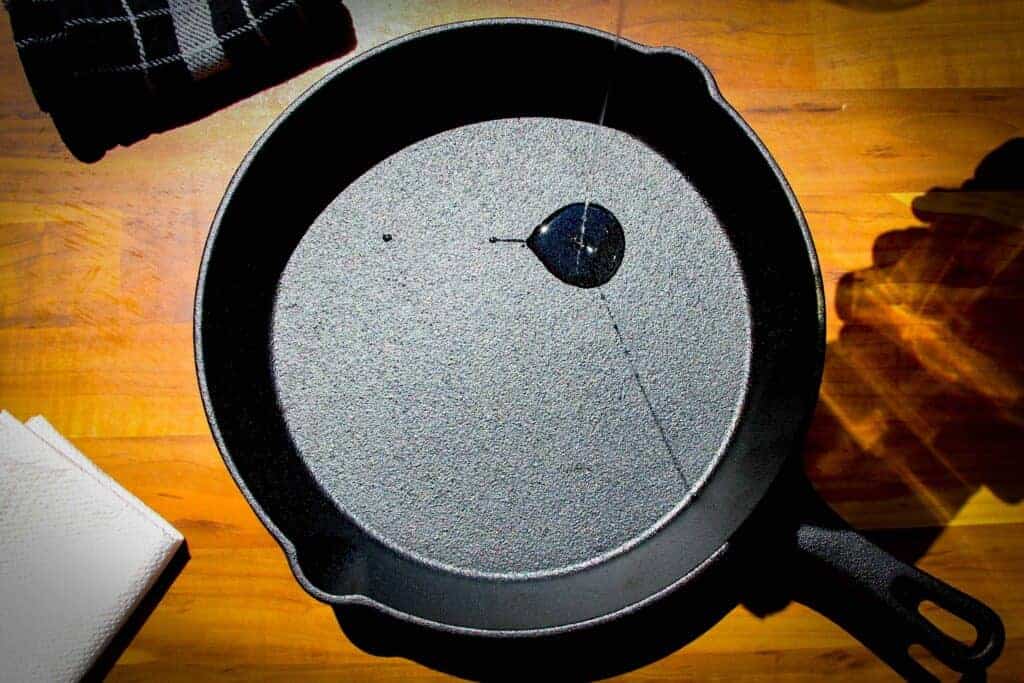
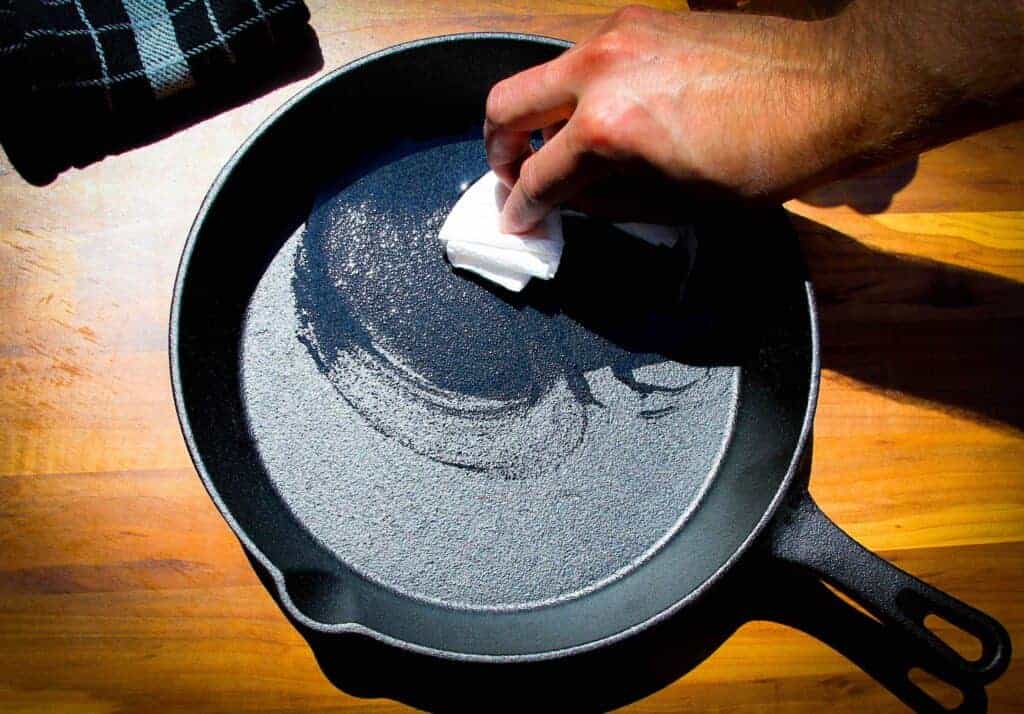
Add a splash of high smoke-point oil to the pan. High smoke-point oils are any oils that can handle high temperatures such as canola, grape-seed, corn, sunflower or vegetable oil.
Brush the oil into the pan with a paper towel or dry sponge and make sure to cover all areas of the inside of the pan. Take care not to leave any excess oil in the pan as this will just leave a sticky mark on the pan. You want a nice thin layer of oil evenly across the inside of the pan.
Heating – Polymerization
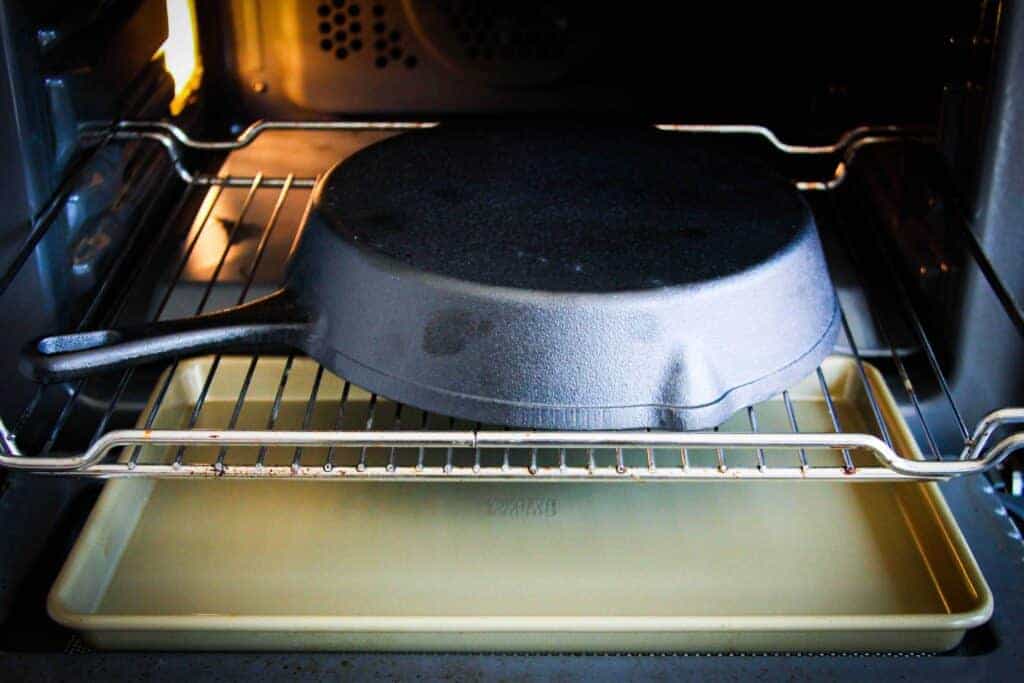
Get the oven blazing at 450°F/220°C. Open all your windows and get the fan on as this will smoke a little bit. If you’d rather do it outside you can also season a cast iron skillet on the BBQ.
Place the oiled pan in the oven with a tray underneath to catch any excess oil and bake for about 30 minutes. Just remember to always grab the cast iron with a towel or oven glove because the handle will be extremely hot.
Repeat 3-4 times
Carefully remove the pan from the oven using a glove or kitchen towel. Re-apply a layer of oil and bake for another 30 minutes. Do this 3-4 times for a good initial seal. Let it cool and you are now ready to use your new pan!
How to Maintain Cast Iron
It’s not so hard to maintain a cast-iron pan. All you need to do is use your pan! The more you add fat and cook with it the more it will develop its natural seasoning.
How to Clean a Cast Iron Skillet After Use
When cleaning the pan, just use water and a sponge to clean out any grime from cooking. Don’t use any soap as this will destroy your seasoning and you will have to re-season. It’s also a lot easier to clean the pan while it’s still hot. Another alternative is to use a bit of salt as an abrasive, but I find a good scour pad is all you need.
Now let’s Put that Cast Iron Pan to Work with Some Recipes!
The Ultimate Breakfast Sandwich


Date Night Stuffed Chicken Leg