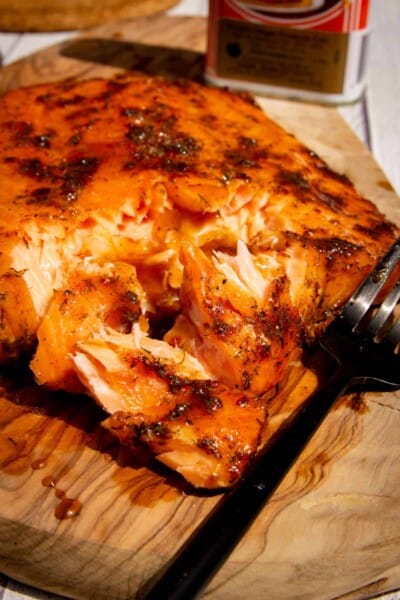
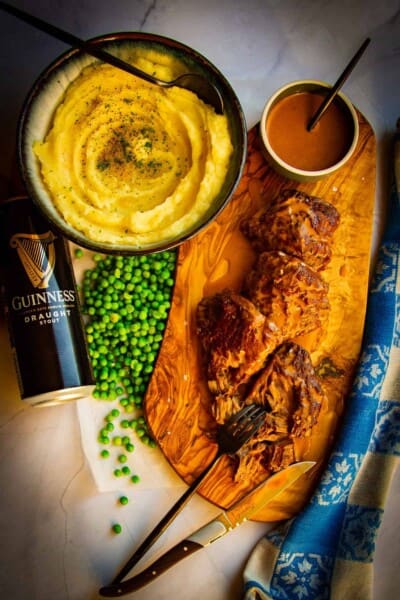
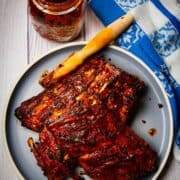
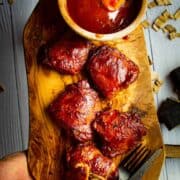
This recipe for fall off the bone ribs is so good, that your friends might think you’re a BBQ master.
So what’s the trick? Braise them!
You could spend 8 hours smoking ribs or you could a third of the time with a flavourful braise that will mean no-fail, melt-in-your-mouth ribs with a smoky charred finish.
Don’t get me wrong, I love smoked ribs too but this method of braised and grilled is just as good.
The Difference Between Chefs and BBQ Masters
Chefs and BBQ masters are two separate crafts just like bread bakers and pastry chefs are completely different worlds. I was raised in the “chef-world” so my rib recipe is going to be a little bit different from the classic BBQ style that is smoked completely on the grill.
Most BBQ purists will say that ribs must be cooked from start to finish on the BBQ.
Personally, I like braised ribs which are cooked in a flavourful liquid and finished on the grill. I love the juiciness of the meat that was brined and cooked in a salty liquid, full of aromatic flavours and finished over charcoal that you just don’t get from smoked meat.
I’m not saying fully-smoked ribs can’t be delicious too. It’s just another way but this is my preferred method. Tomato, tomahto.
Can I Braise the Ribs in Advance?
The good news is that these ribs can be made ahead of time and once cooked and cooled, will only need 10-15 minutes over the charcoal.
After braising the ribs, let them cool in the liquid. Strain and wrap the ribs in plastic wrap. They are good for up to 5 days in the refrigerator.
They also freeze well for up to 3 months.
Gas or Charcoal?
For me, this is a no-brainer – charcoal!
Charcoal always makes food taste better. I prefer to grill with charcoal instead of gas because a charcoal grill gives way more flavour to anything you cook and this is a game-changer for the ribs.
If you don’t have charcoal try adding a few wood chips covered with tin foil to smoke on the side while you grill. This will infuse a bit of smoky flavour into the ribs.
The Best Cut for Fall off the Bone Ribs
It’s simply a matter of personal preference. Spare ribs tend to be fattier (and more flavourful) but back ribs are smaller and meatier. Personally, I like what is called St-Louis-style ribs because they have more flavour from the extra fat.
You can use any type of ribs but keep in mind that the smaller baby-back ribs will cook a little bit faster than the rest.
Should I Remove the Silverskin from the Ribs?
Removing the silver skin from ribs is a hotly debated topic in the BBQ world.
Some experts say it’s a waste of time while others say it’s paramount to properly smoke ribs.
As a classically French-trained chef, I was taught to remove silverskin at all times because silverskin doesn’t break down after cooking.
If you don’t remove this layer of skin you’ll end up with some chewy membrane on the bottom of your ribs.
Plus, the experts from Amazingribs.com recommend removing this layer for the same reason.
So it’s settled, remove it!
How to Remove the Silverskin Membrane from Your Ribs
You can ask the butcher to do this for you or you can do this yourself by using a knife to get under the skin and pull off the membrane with your hands using a paper towel for grip.
If that doesn’t make any sense I’ve linked a quick video tutorial from a BBQ pro here.
Is it time for new knives? Then definitely check out my ultimate guide to The Best High End Knife Sets and Why I’ll Never Buy a Cutco Knife Set.
What to Serve with These Fall off the Bone Ribs
Here are a few ideas for what to serve with these ribs:
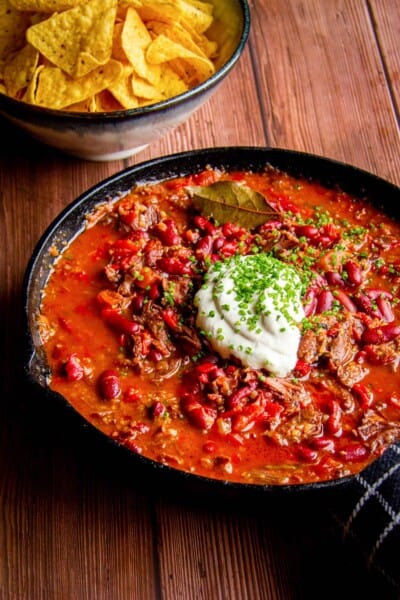
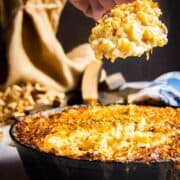
- Smoked Mac and Cheese
- BBQ Bloody Mary
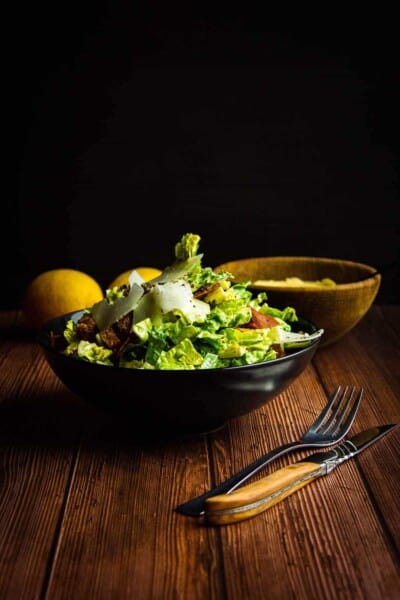
- The Ultimate Caesar Salad
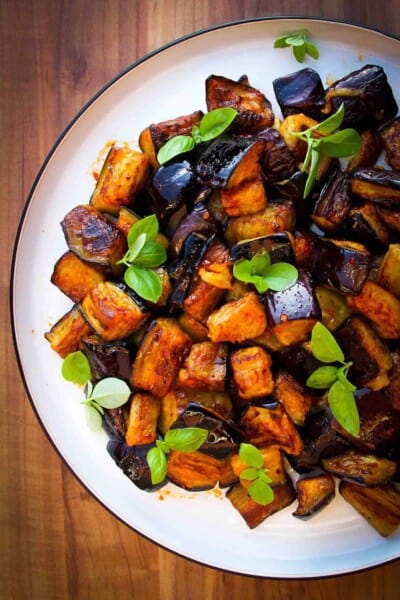
- These Oven-Baked Crispy Sweet Potato Fries
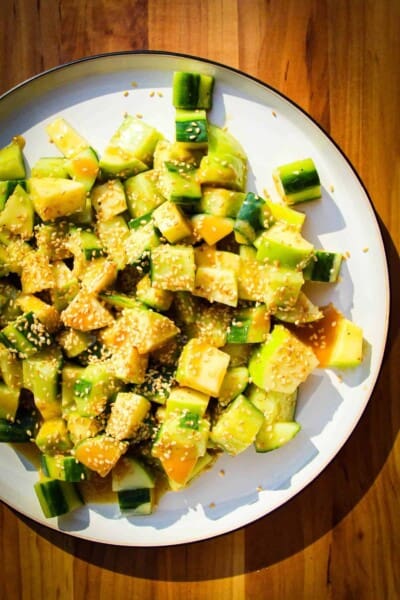
- Grilled White Sweet Potatoes with Sesame, Maple and Butter
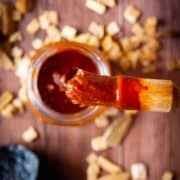
- My Homemade BBQ Sauce
Fall off the Bone Ribs
Equipment
- Charcoal grill
- ice
Ingredients
- 1 + ½ racks back ribs or spare ribs
- 750 ml chicken stock
- 2 whole onions cut in half, skin left on
- 1 bottle your favourite bbq sauce
- 1 head garlic cut in half, skin left on
- 2 bay leaves
- 20 g butter softened
- 32 g soy sauce (2 tbsp)
- 6 g salt (1 tsp)
Salt brine 5%
- 50 g salt
- 1 litre water
- 1 bay leaf
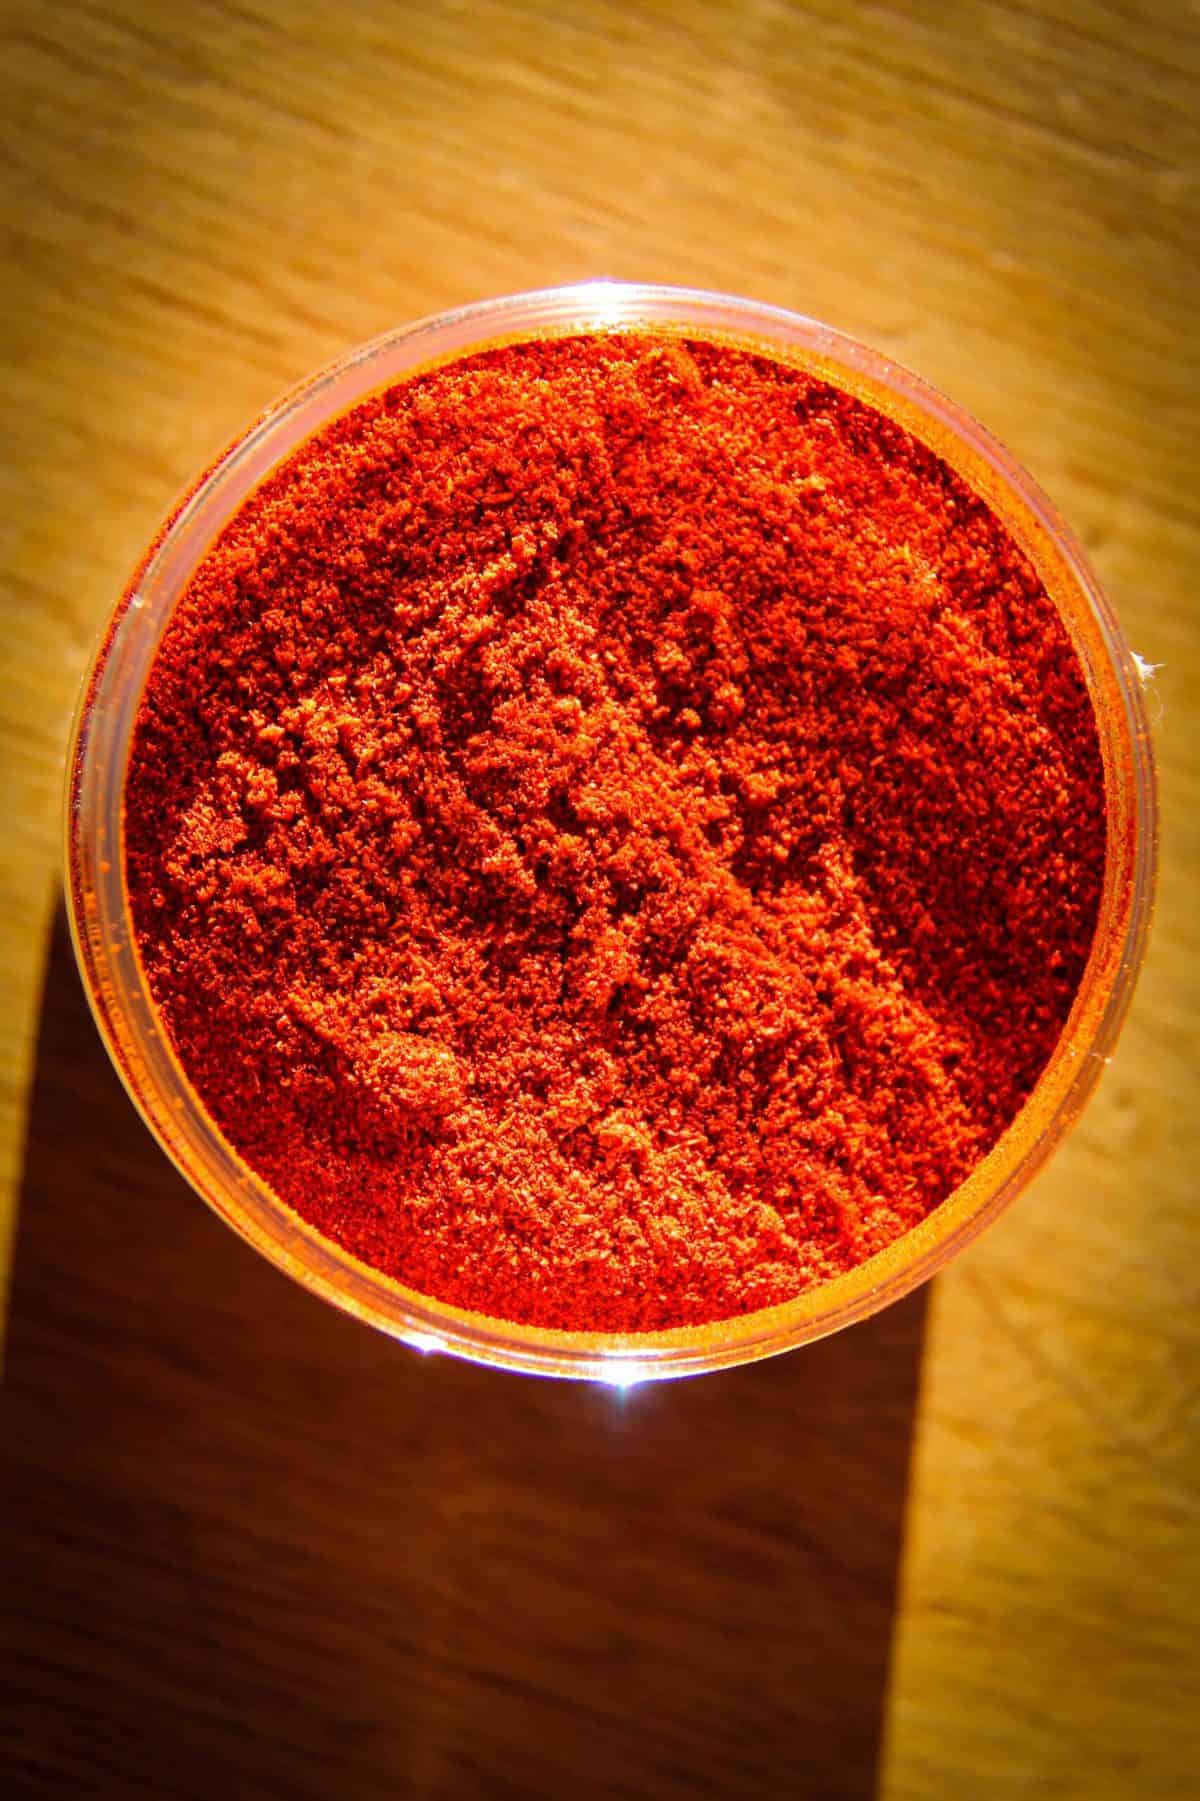
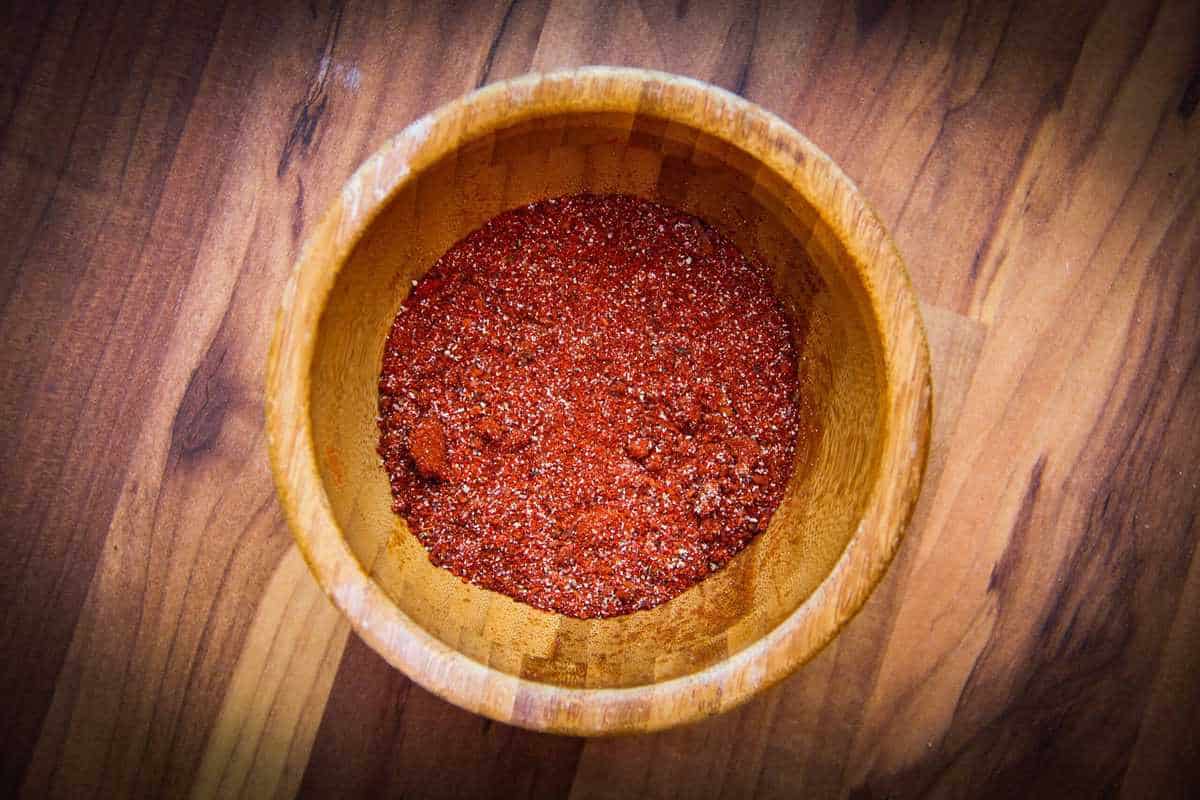
DC's Super Secret Rib Rub
- 1 tbsp smoked paprika
- 1 tsp celery salt
- 1 tsp onion powder
- 1 tsp garlic powder
- ⅛ tsp cinnamon
- 1 tsp brown sugar
- 1 tsp Aleppo chili flakes or ½ tsp regular chili powder
Instructions
- Remove the membrane from underneath the ribs using a butter knife and a paper towel to grip the membrane. Pull firmly to remove.
For the Quick Brine
- Measure half of the water (500ml) and add to a small pot with the salt and the bay leaf for the brine. Bring to a boil. Make sure all of the salt is dissolved. Let this cool.
- Now fill a measuring cup with ice and fill it with cold water up to 500ml in total. Add this to the dissolved salt water. Let this cool completely before adding the ribs.
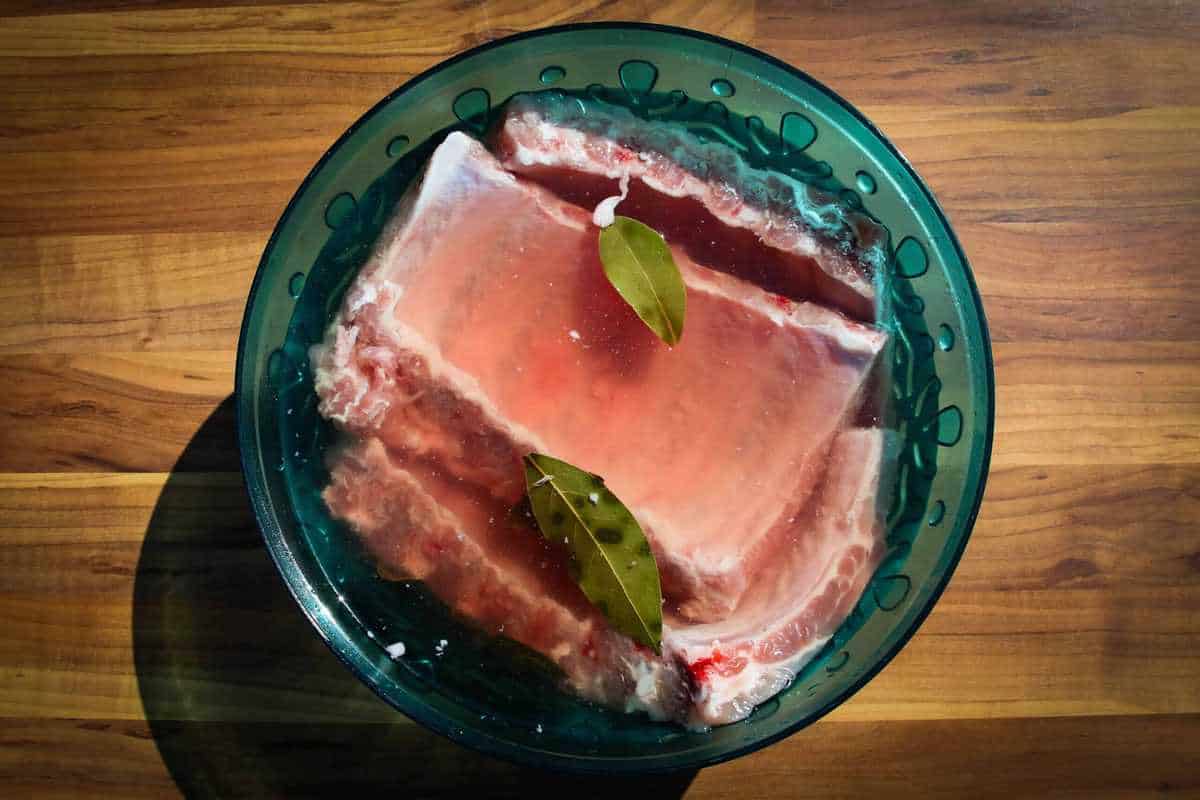

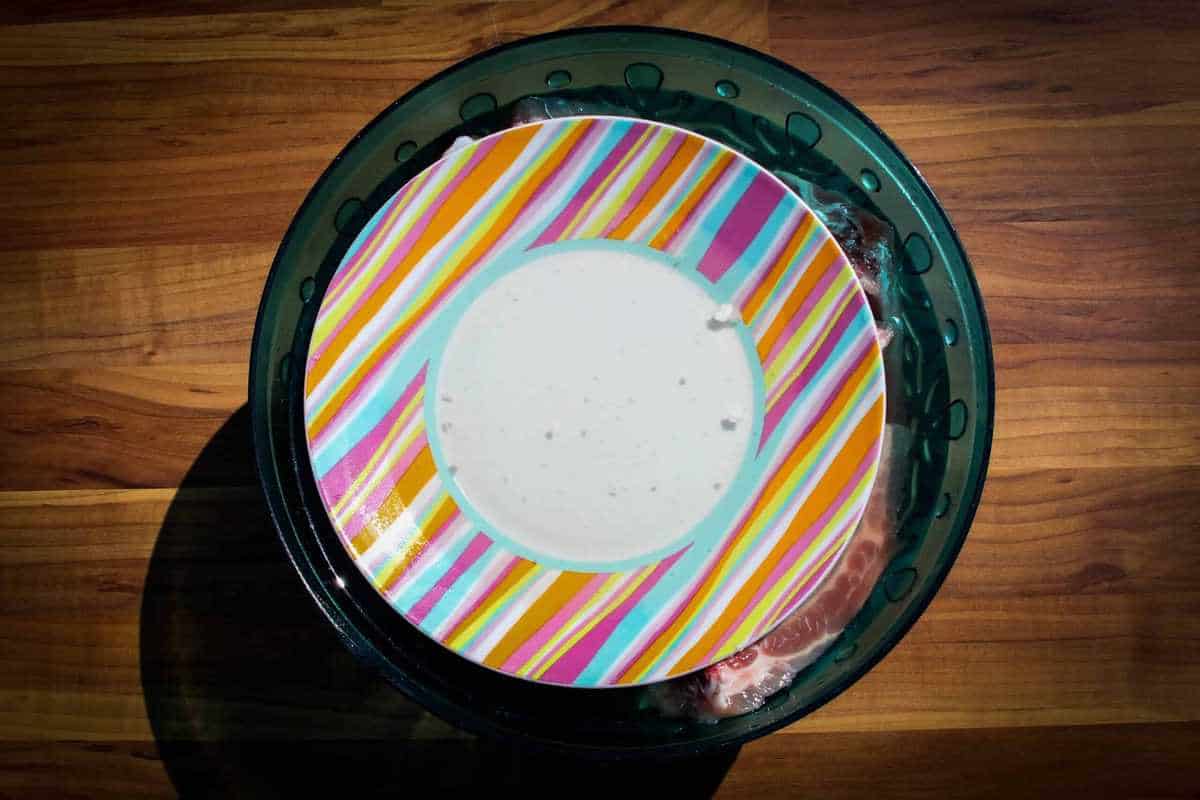
- Once the brine is cool, add the ribs and use a small plate to hold them into the solution. Cover with plastic wrap and let sit overnight or for at least 6 hours.
Braising the Ribs
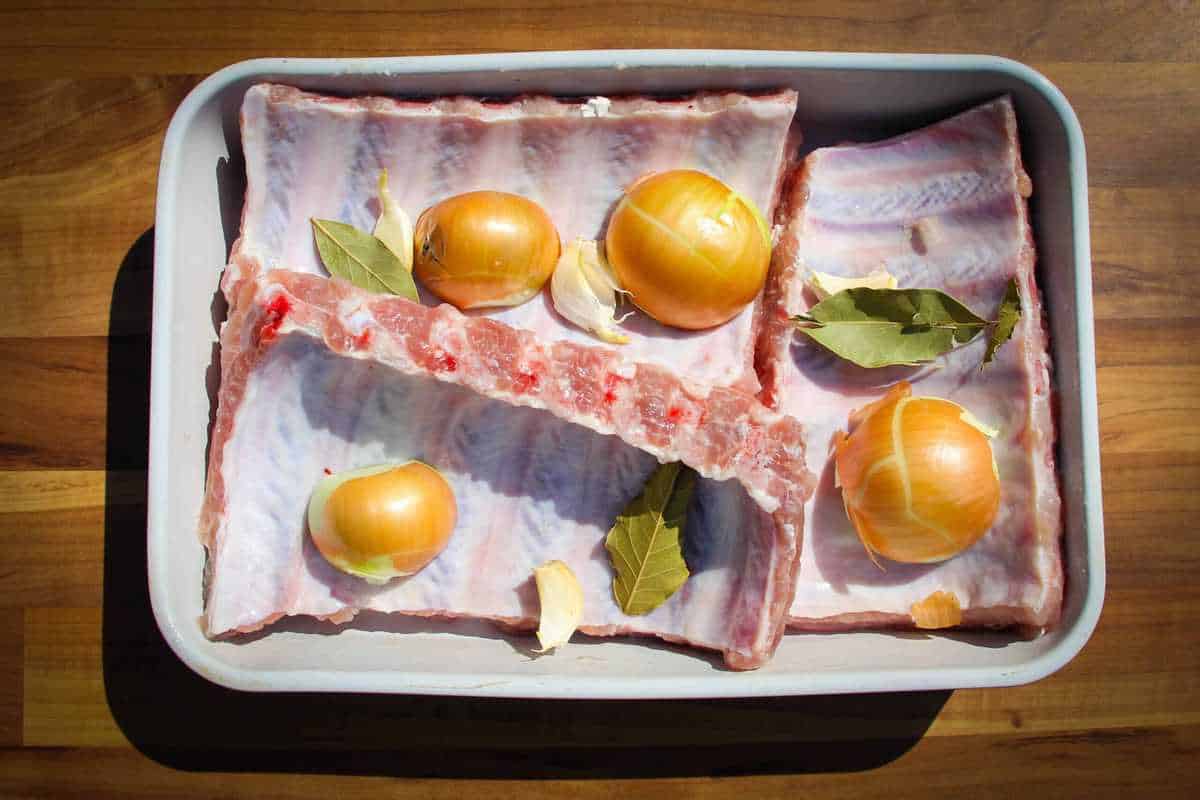
- Set the oven to 350°F/175°C. Remove the ribs from the brine and place leave out to temper for about 20 minutes. Add the onions, garlic and bay leaves with the ribs to the casserole dish. In a separate pan, bring the chicken stock, salt and soy to a boil. Pour the hot stock over the ribs making sure the ribs are completely covered in liquid. Cover with a double layer of tin foil or a lid. Set in the oven for 2-2+1/2 hours. Check after 2 hours. The ribs are done when the bone pulls away effortlessly from the meat. If the ribs are still tough, put them back in the oven until they become tender. (Another +30 minutes)

- After the ribs are cooked, let them cool in the braising liquid for about 30 minutes. If you are not going to cook the ribs today then wrap in plastic wrap and set in the fridge once cooled. If you want to eat the ribs now then remove them from the liquid and set on paper towel. Set in the fridge and quickly chill for about 20 minutes. (This will make it easier to handle on the grill)
- Now get that BBQ fired up! While you are waiting for the grill to heat up make the spice seasoning. Get a brush, bbq sauce and the softened butter ready.
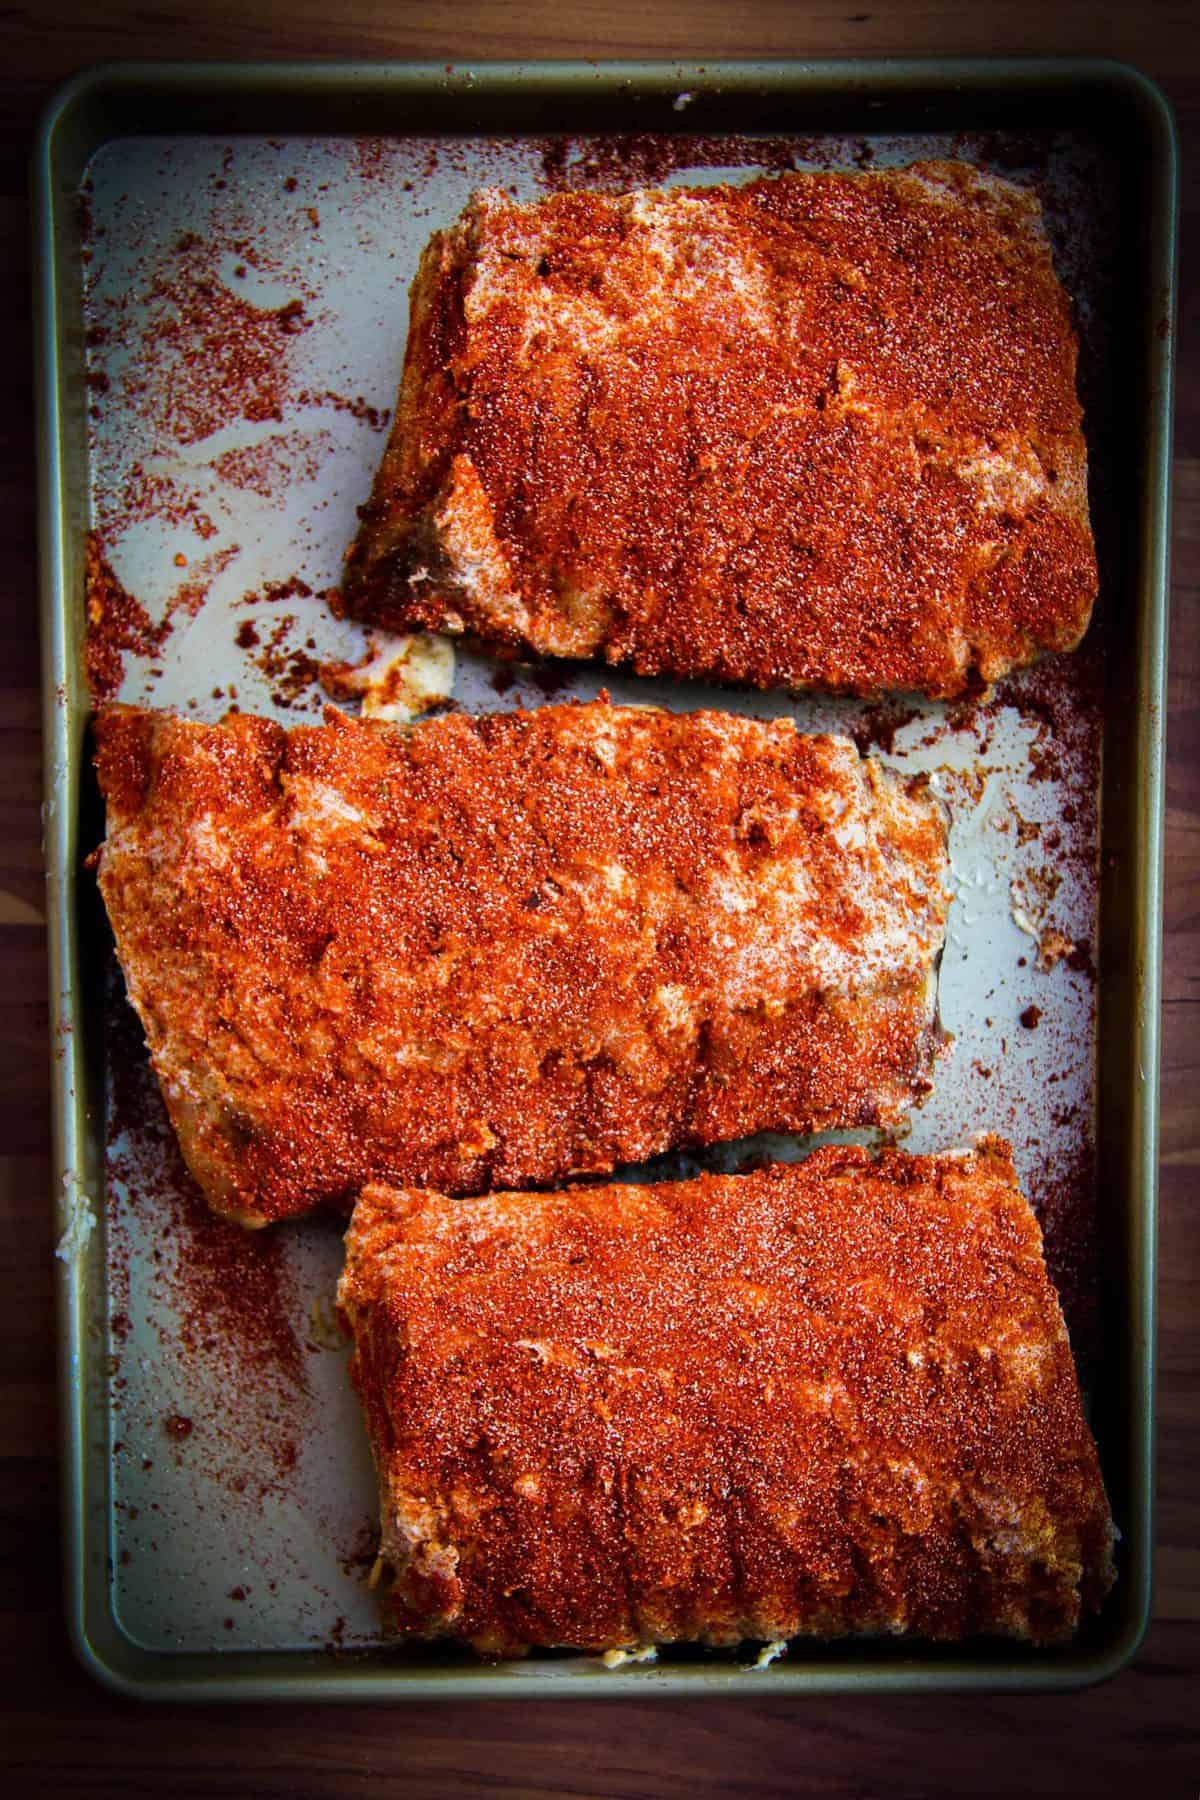
- Remove the ribs from the fridge and rub with the softened butter. Season generously with salt and the spice seasoning.
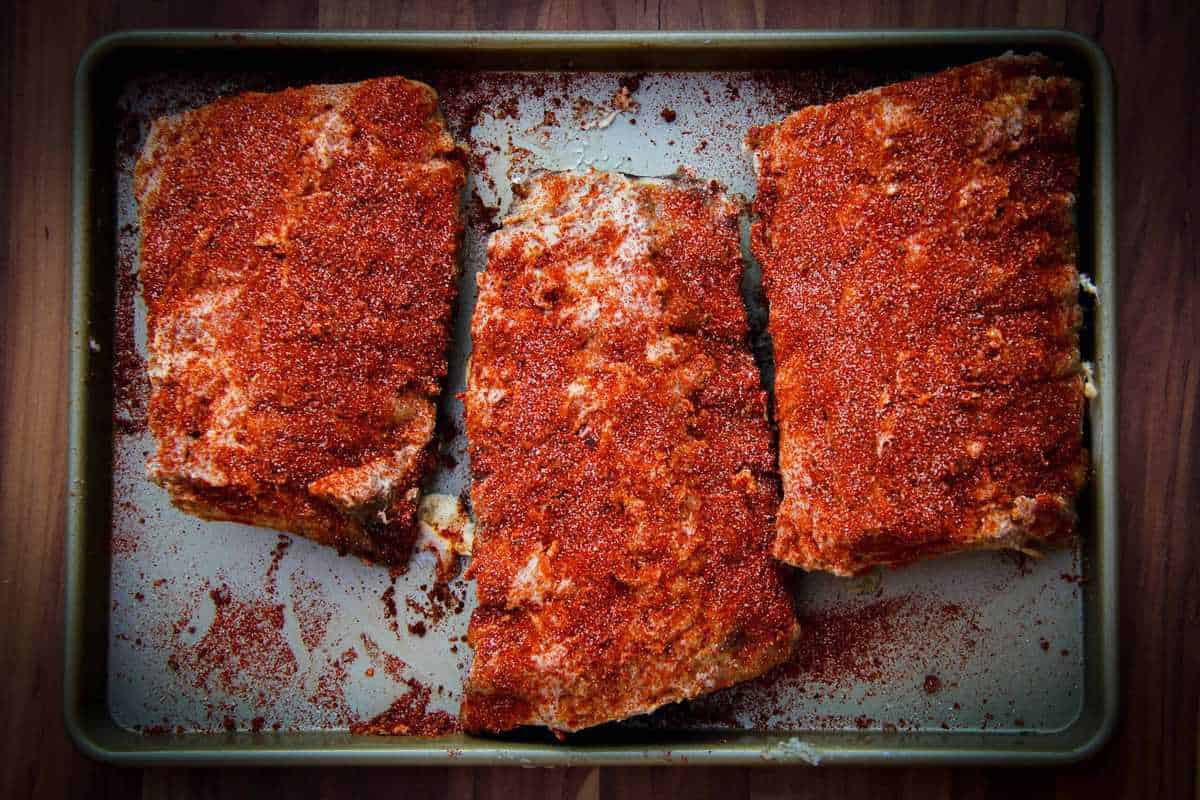
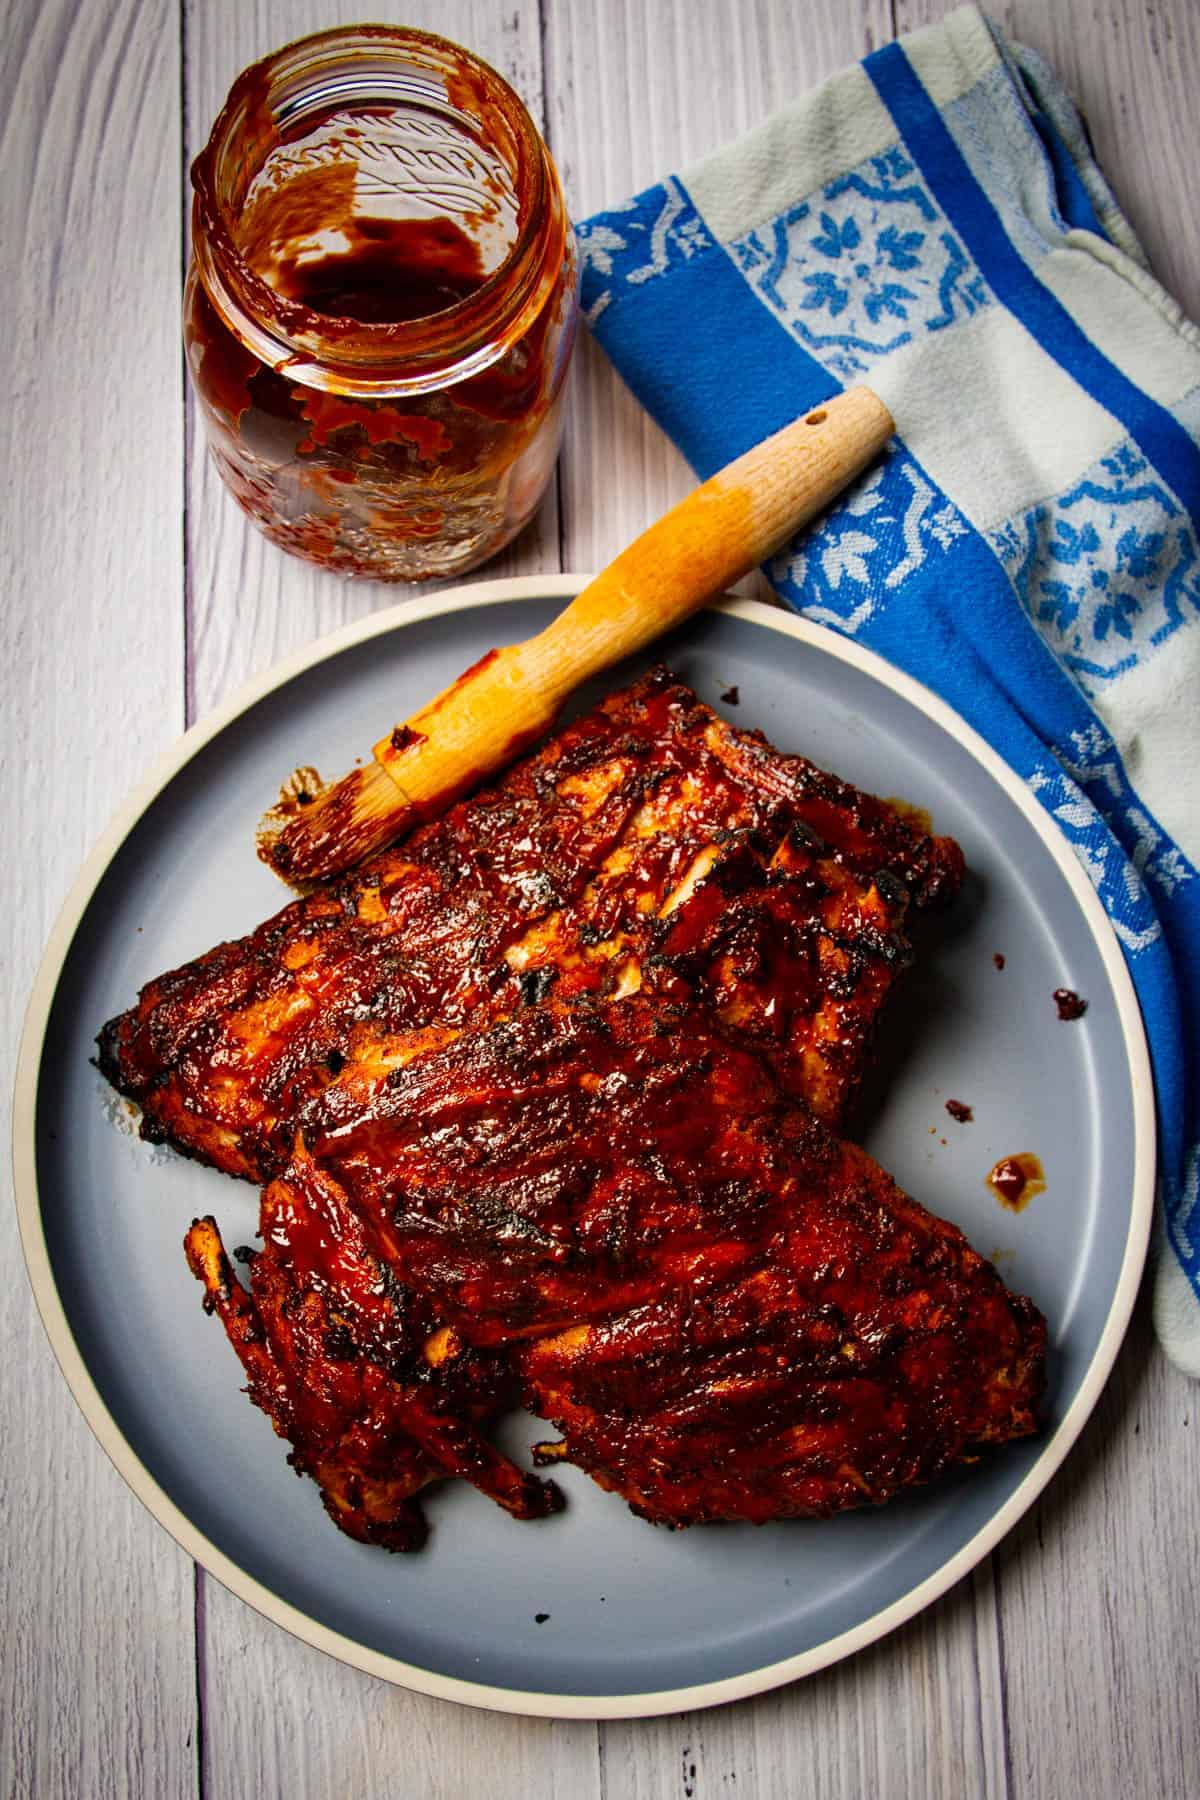
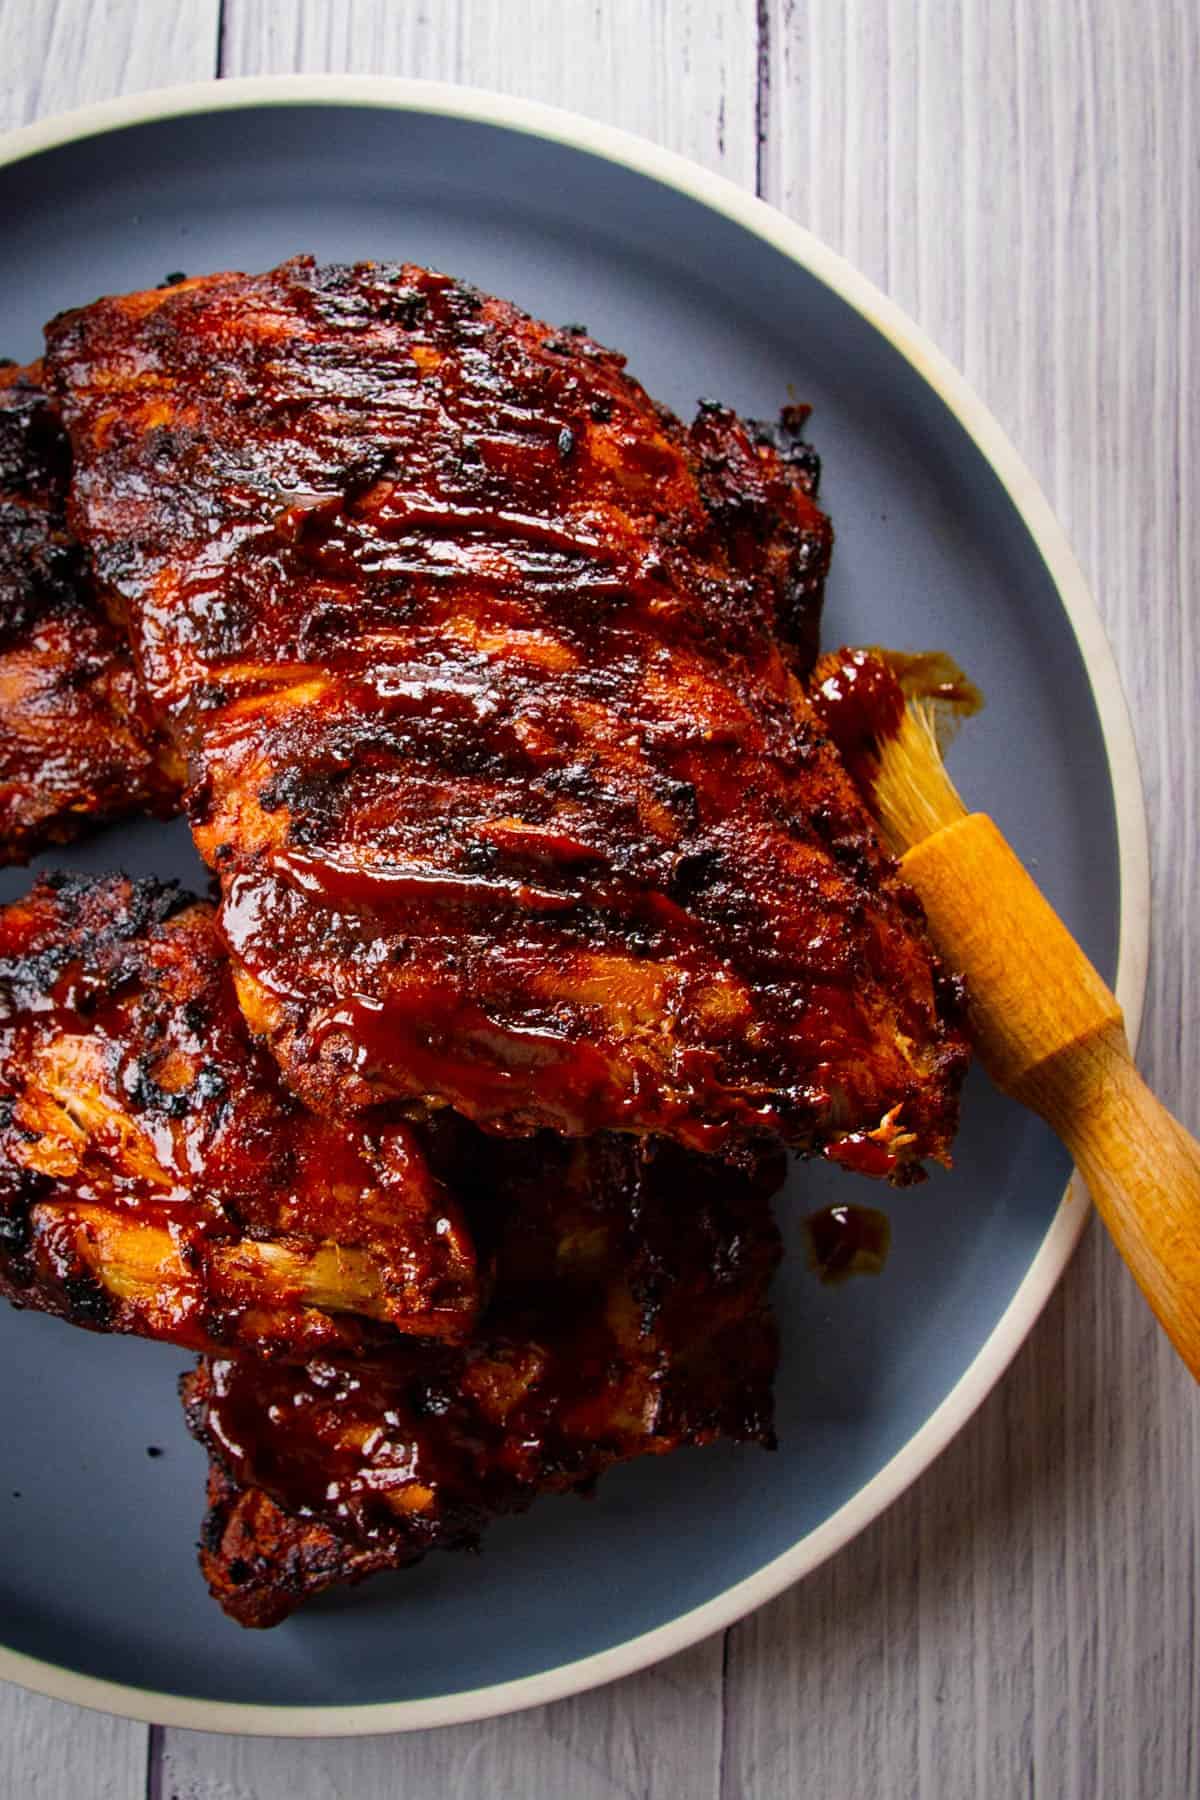
- Brush a nice layer of BBQ sauce all over the ribs and start grilling! The technique is to continuously flip the ribs over and brush more BBQ sauce over the ribs when they look dry and then repeating this step multiple times to achieve a nice crust.
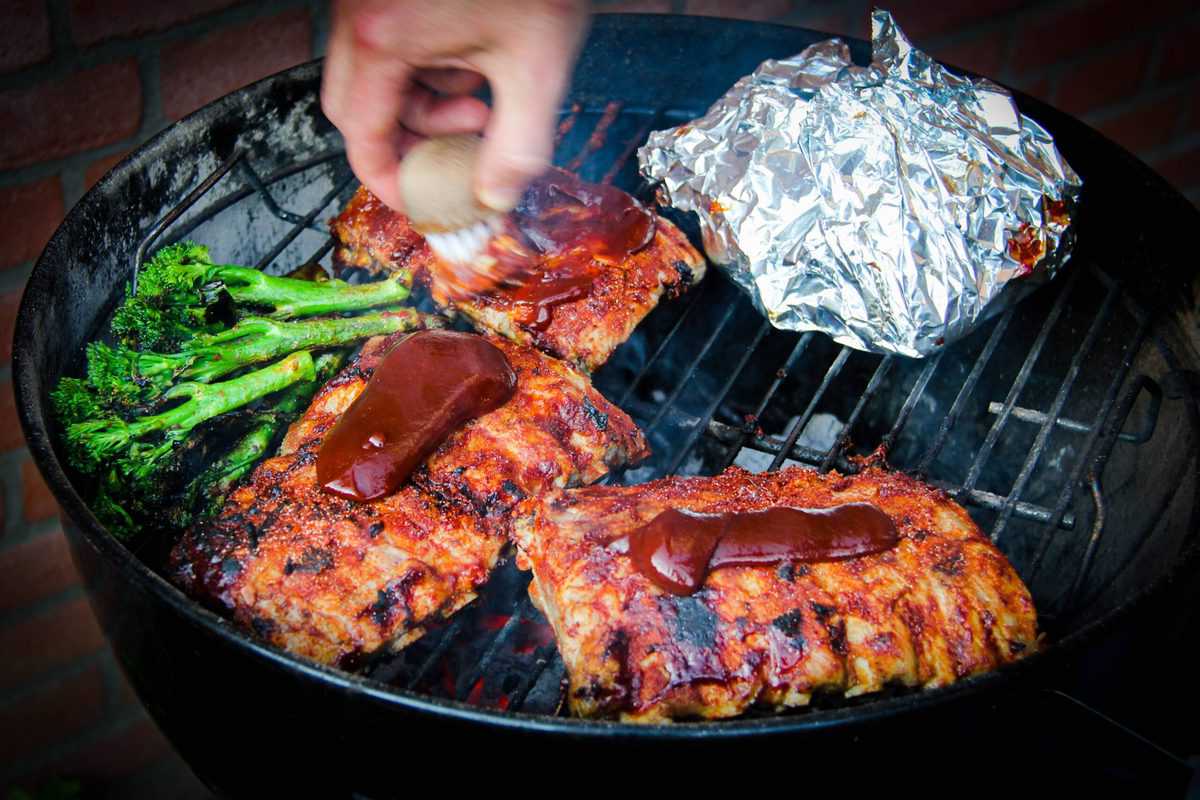
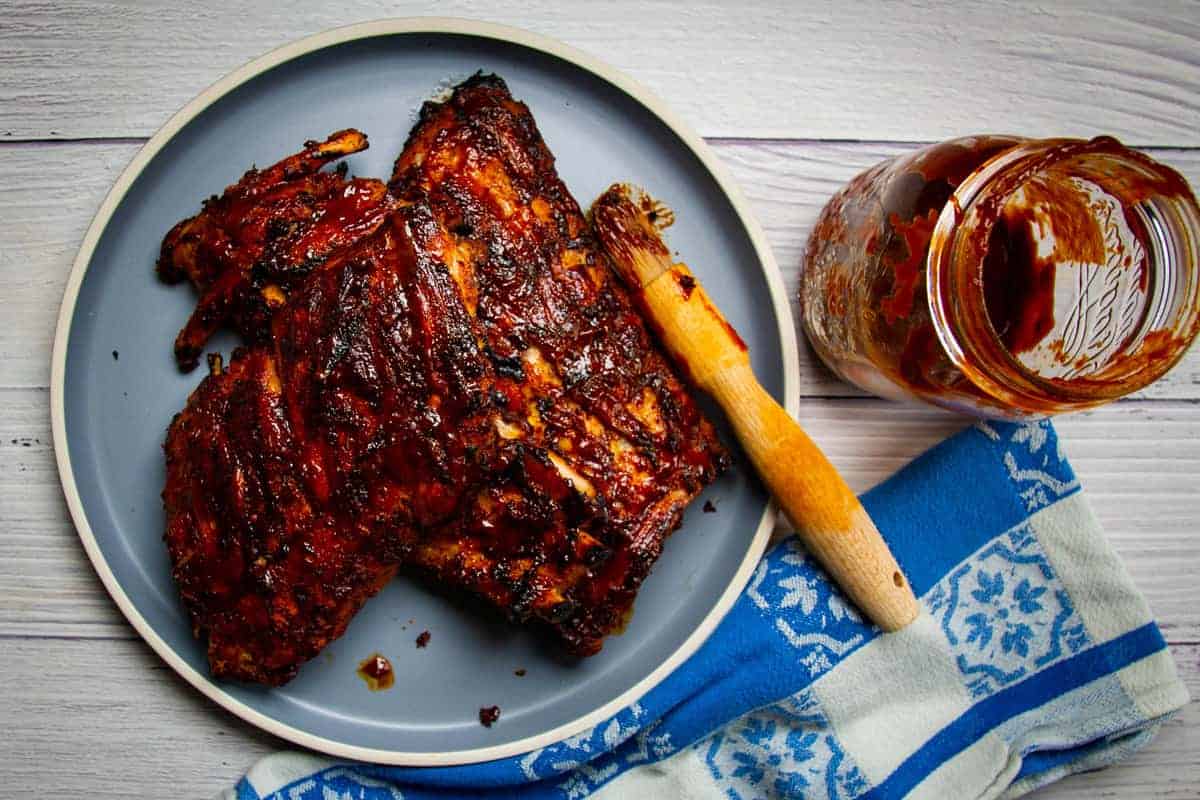
- Finish with a sprinkling of more seasoning and lots of BBQ sauce and serve on a board. Enjoy!

Notes
Nutrition

Contents